Prerequisites
- Intuit Developer account (free to sign up)
- Access to Intuit Developer Platform
Step 1: Create Intuit Developer Account & Workspace
- Visit https://developer.intuit.com and sign in with your Intuit credentials
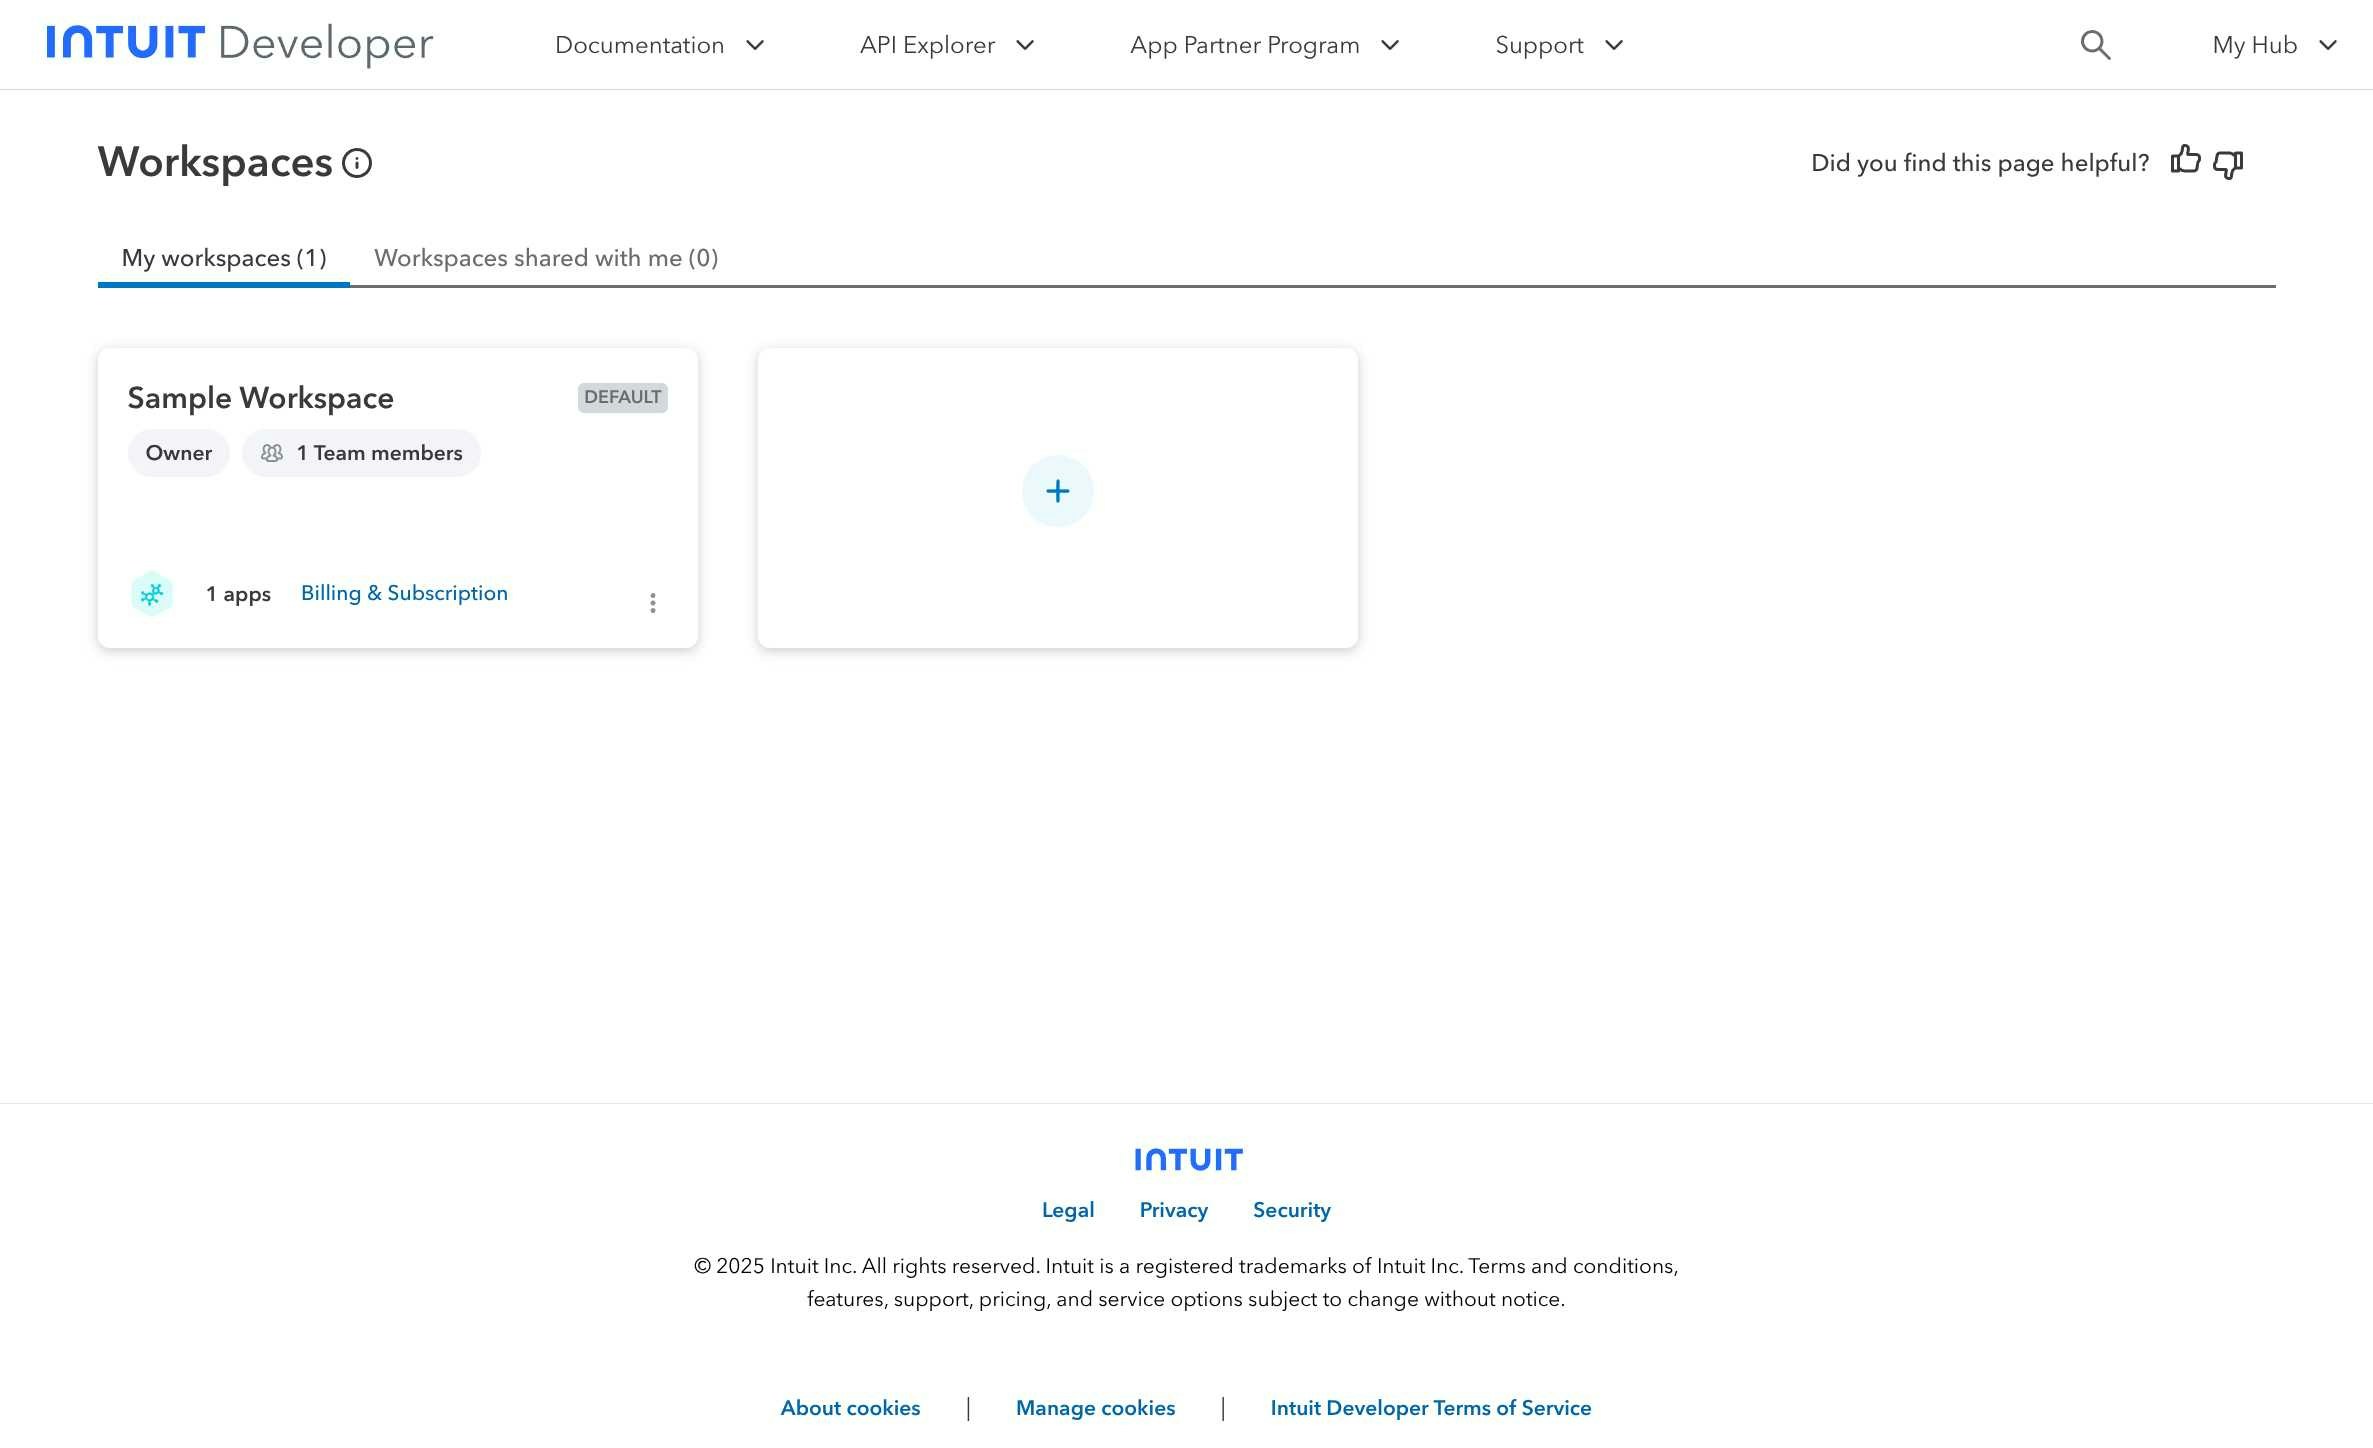
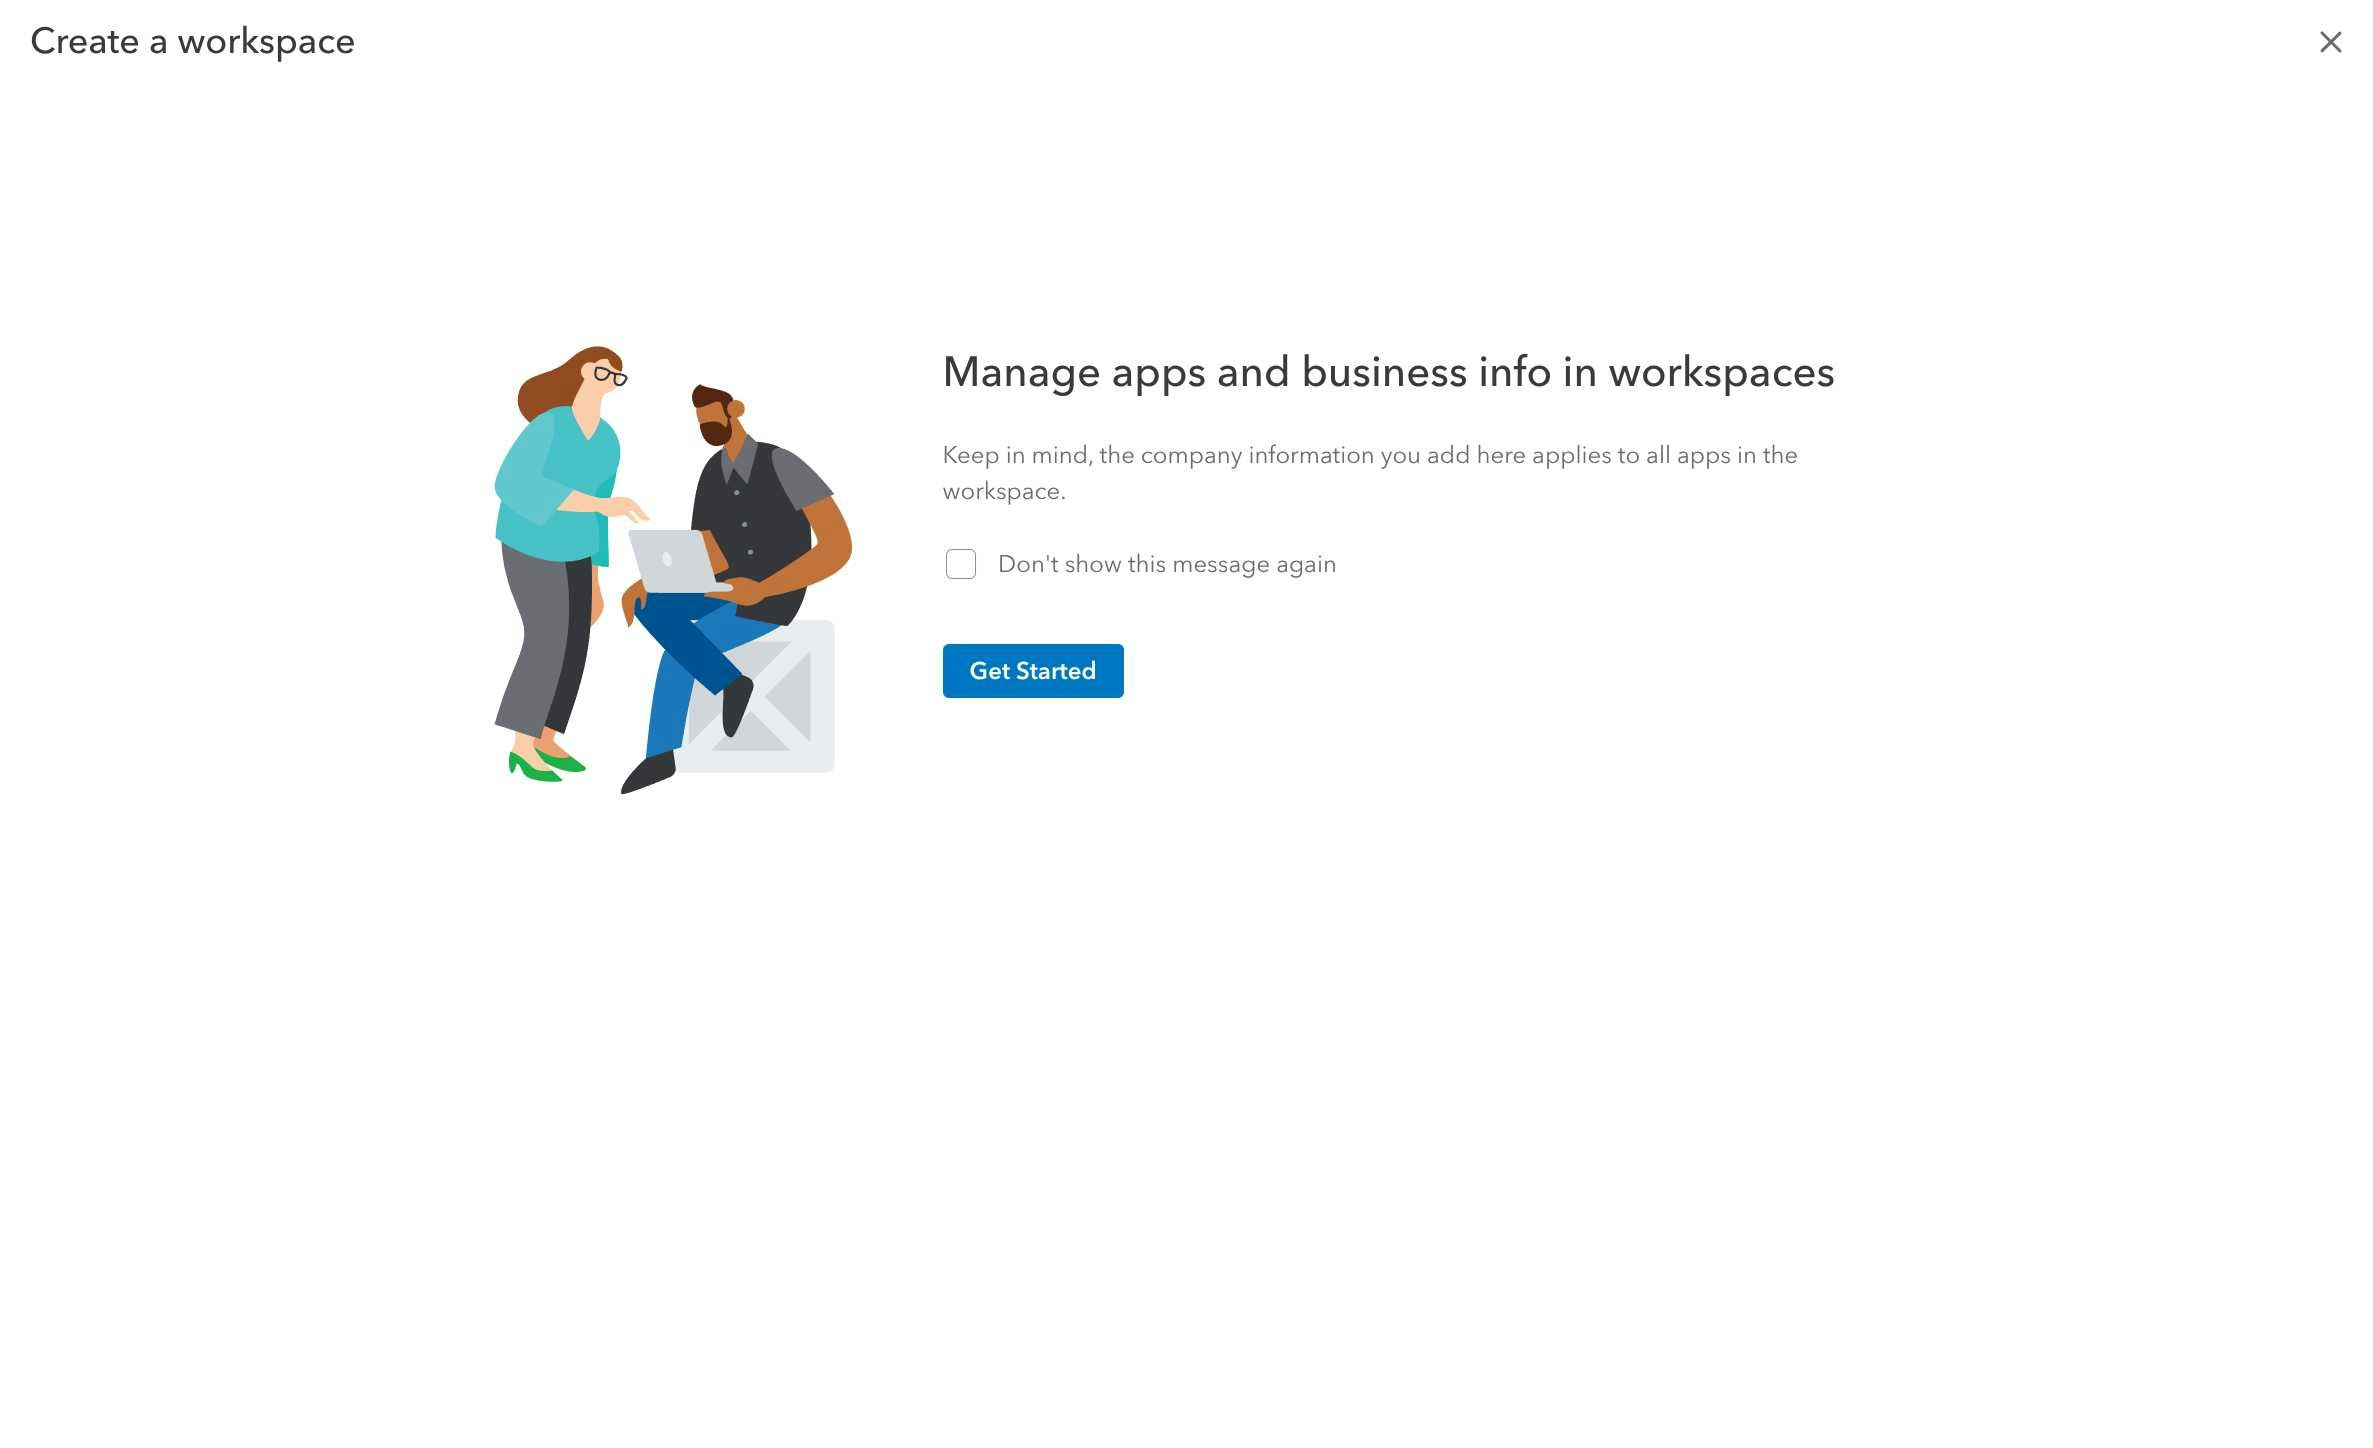
- Click “Create a workspace” to set up your development environment
- Fill out the workspace creation form with three steps:
- Step 1 - Basic Information: Enter workspace name and description
- Step 2 - Company Information: Provide your company details
- Step 3 - Contact Information: Add your contact information
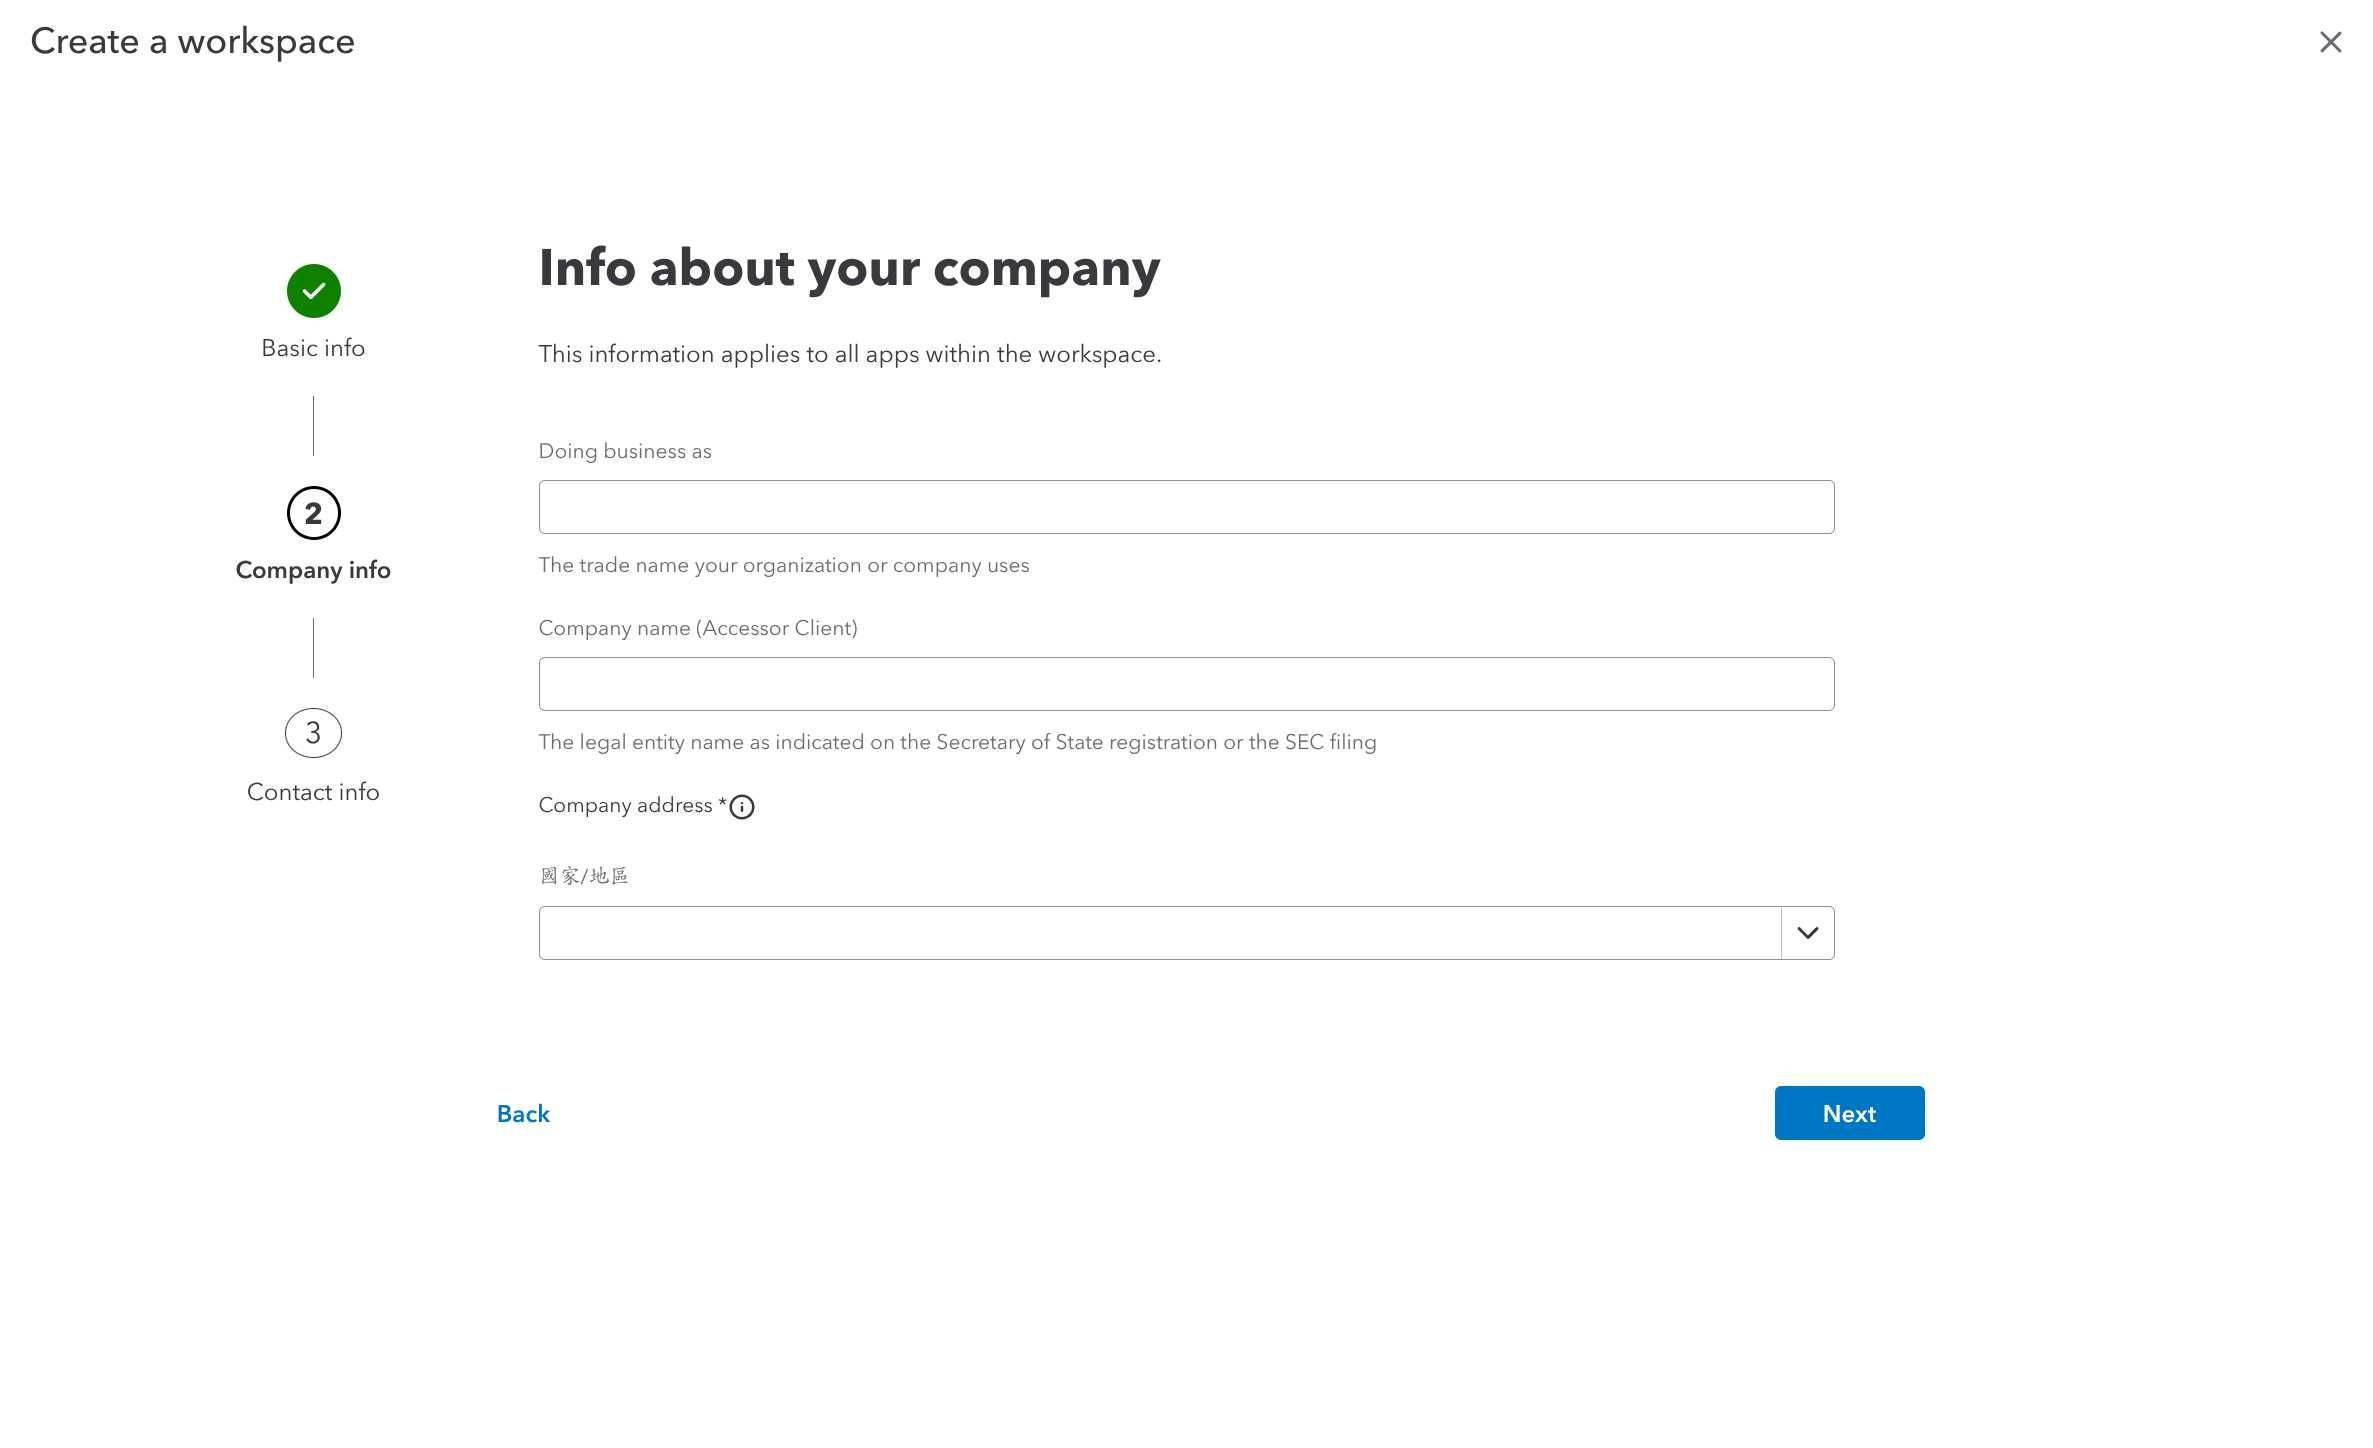
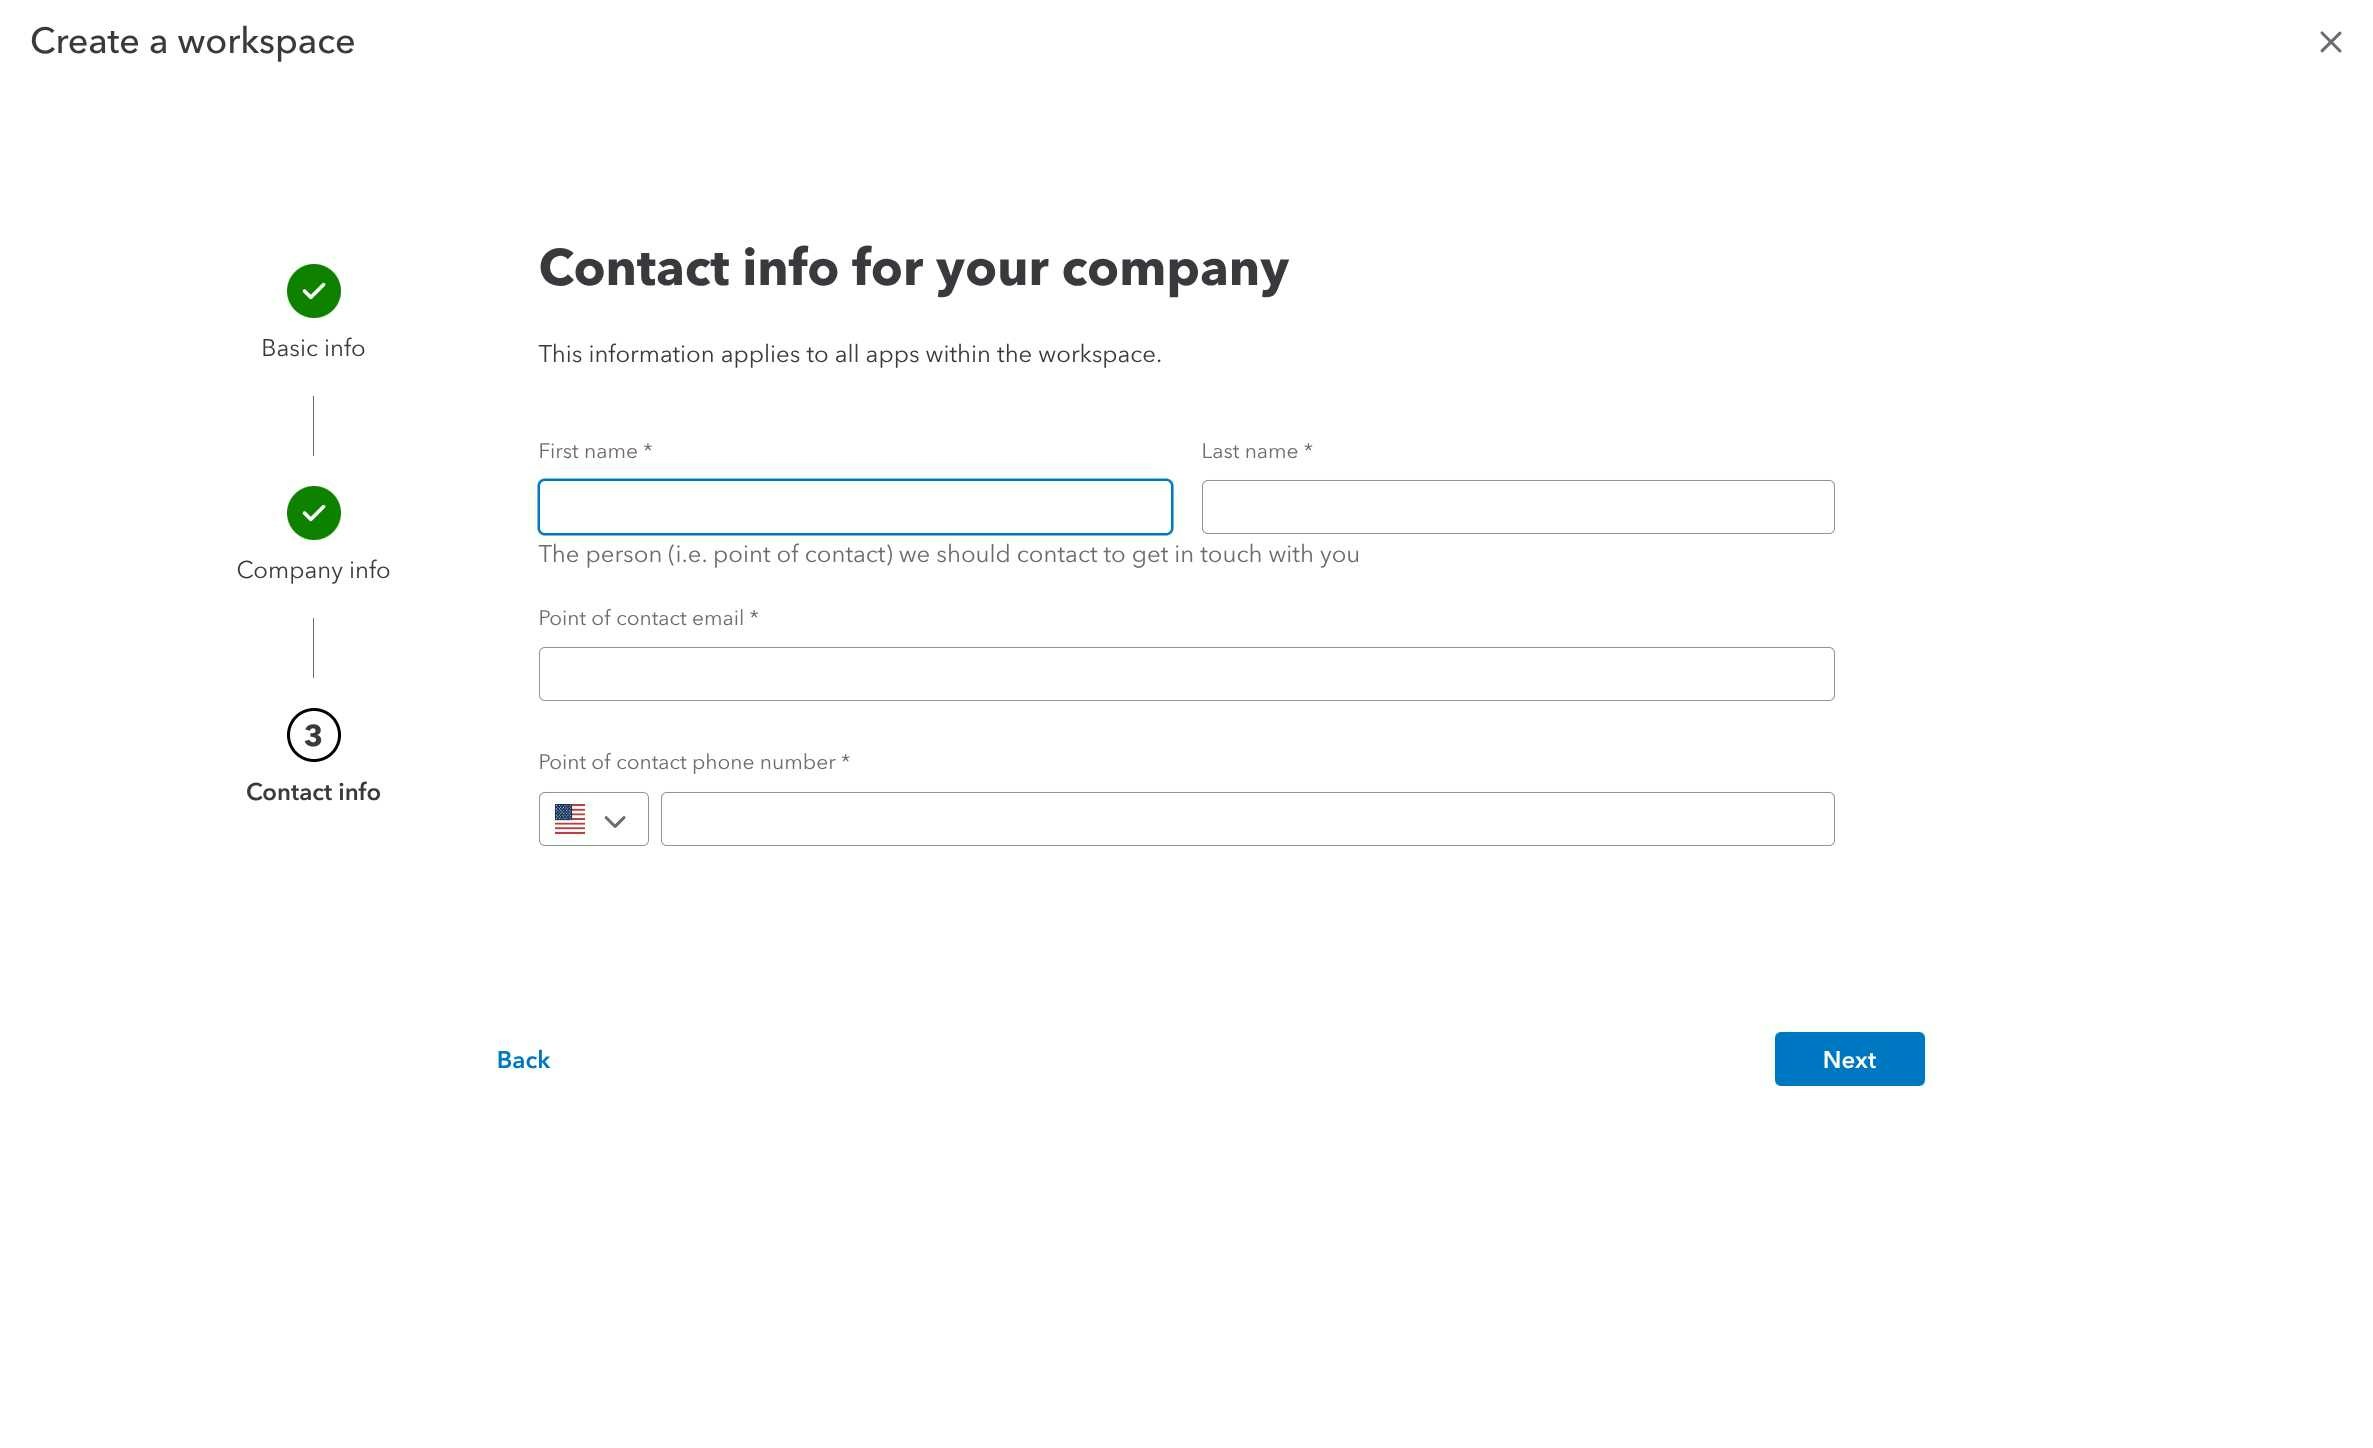

- Click “Create workspace” to complete the setup
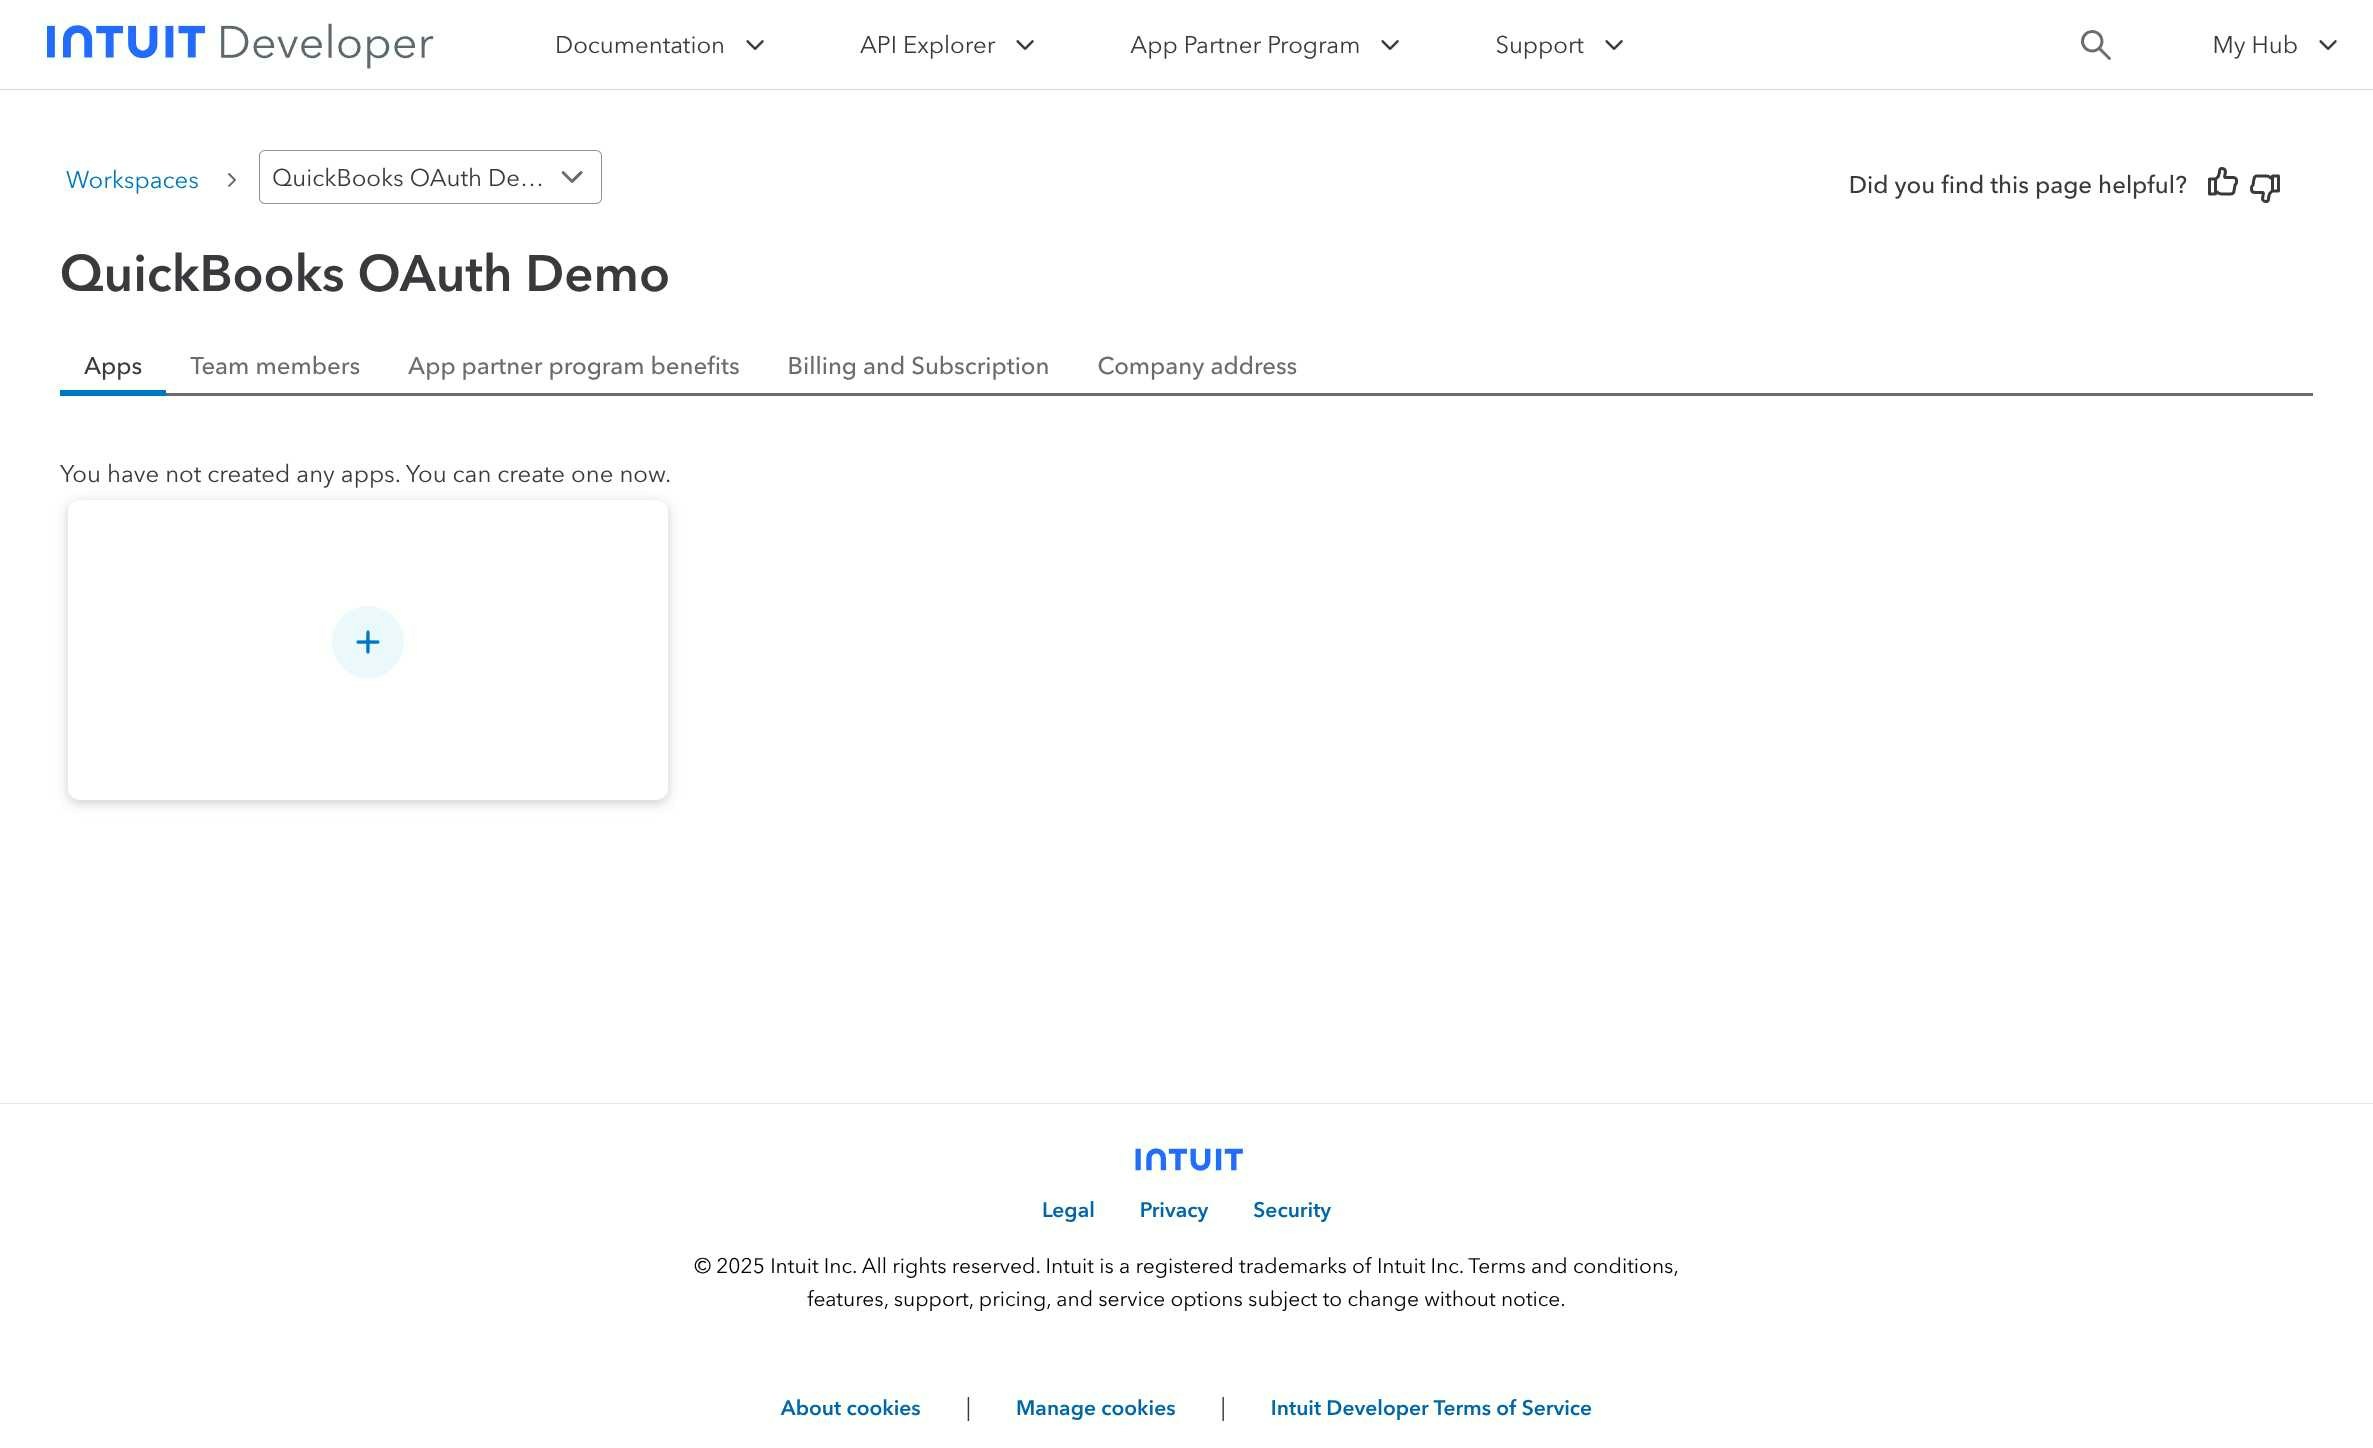
Step 2: Create QuickBooks OAuth Application
- After workspace creation, click “Create an app” to start building your QuickBooks integration
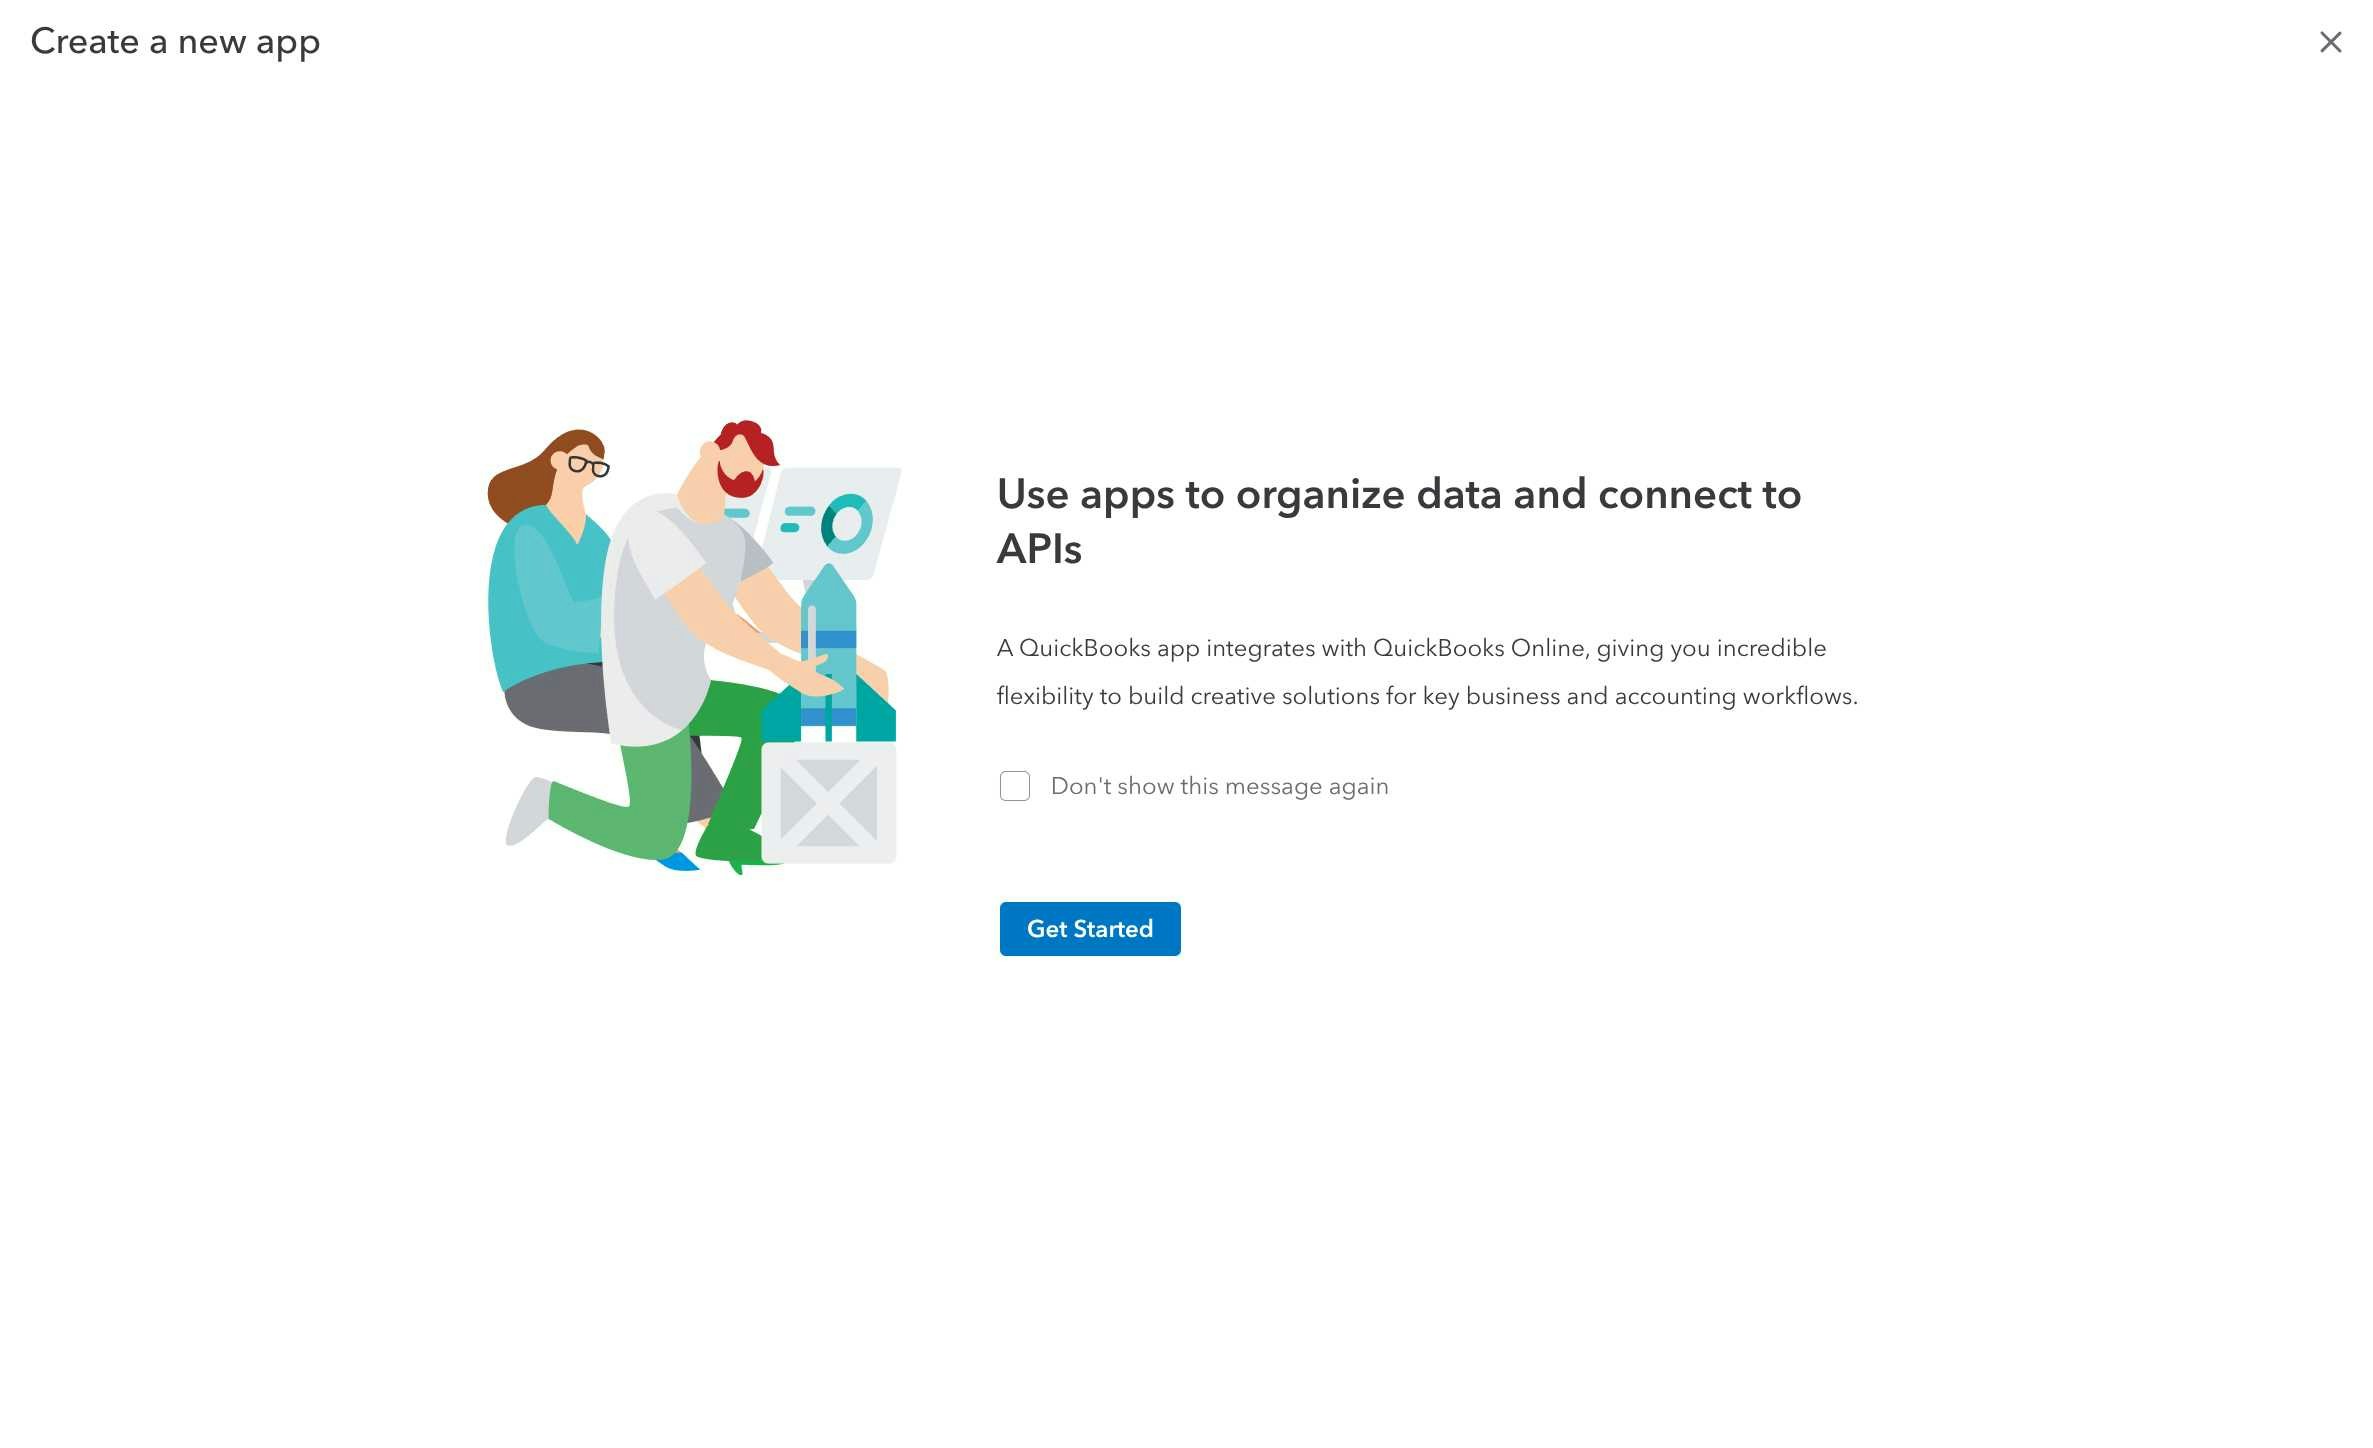
- In the app creation dialog, select app type and configure basic information:
- Choose “QuickBooks Online” as your app type
- Enter your app name (avoid using “Intuit” or “QuickBooks” in the name)
- Provide app description

Step 3: Configure OAuth Permissions
Klavis QuickBooks MCP Server uses the following OAuth scopes:
com.intuit.quickbooks.accounting (for full accounting data access) and com.intuit.quickbooks.payment (for payment processing)- In the permissions configuration step, select the required QuickBooks scopes:
- com.intuit.quickbooks.accounting - For accessing accounting data (customers, invoices, items, etc.)
- com.intuit.quickbooks.payment - For payment processing capabilities
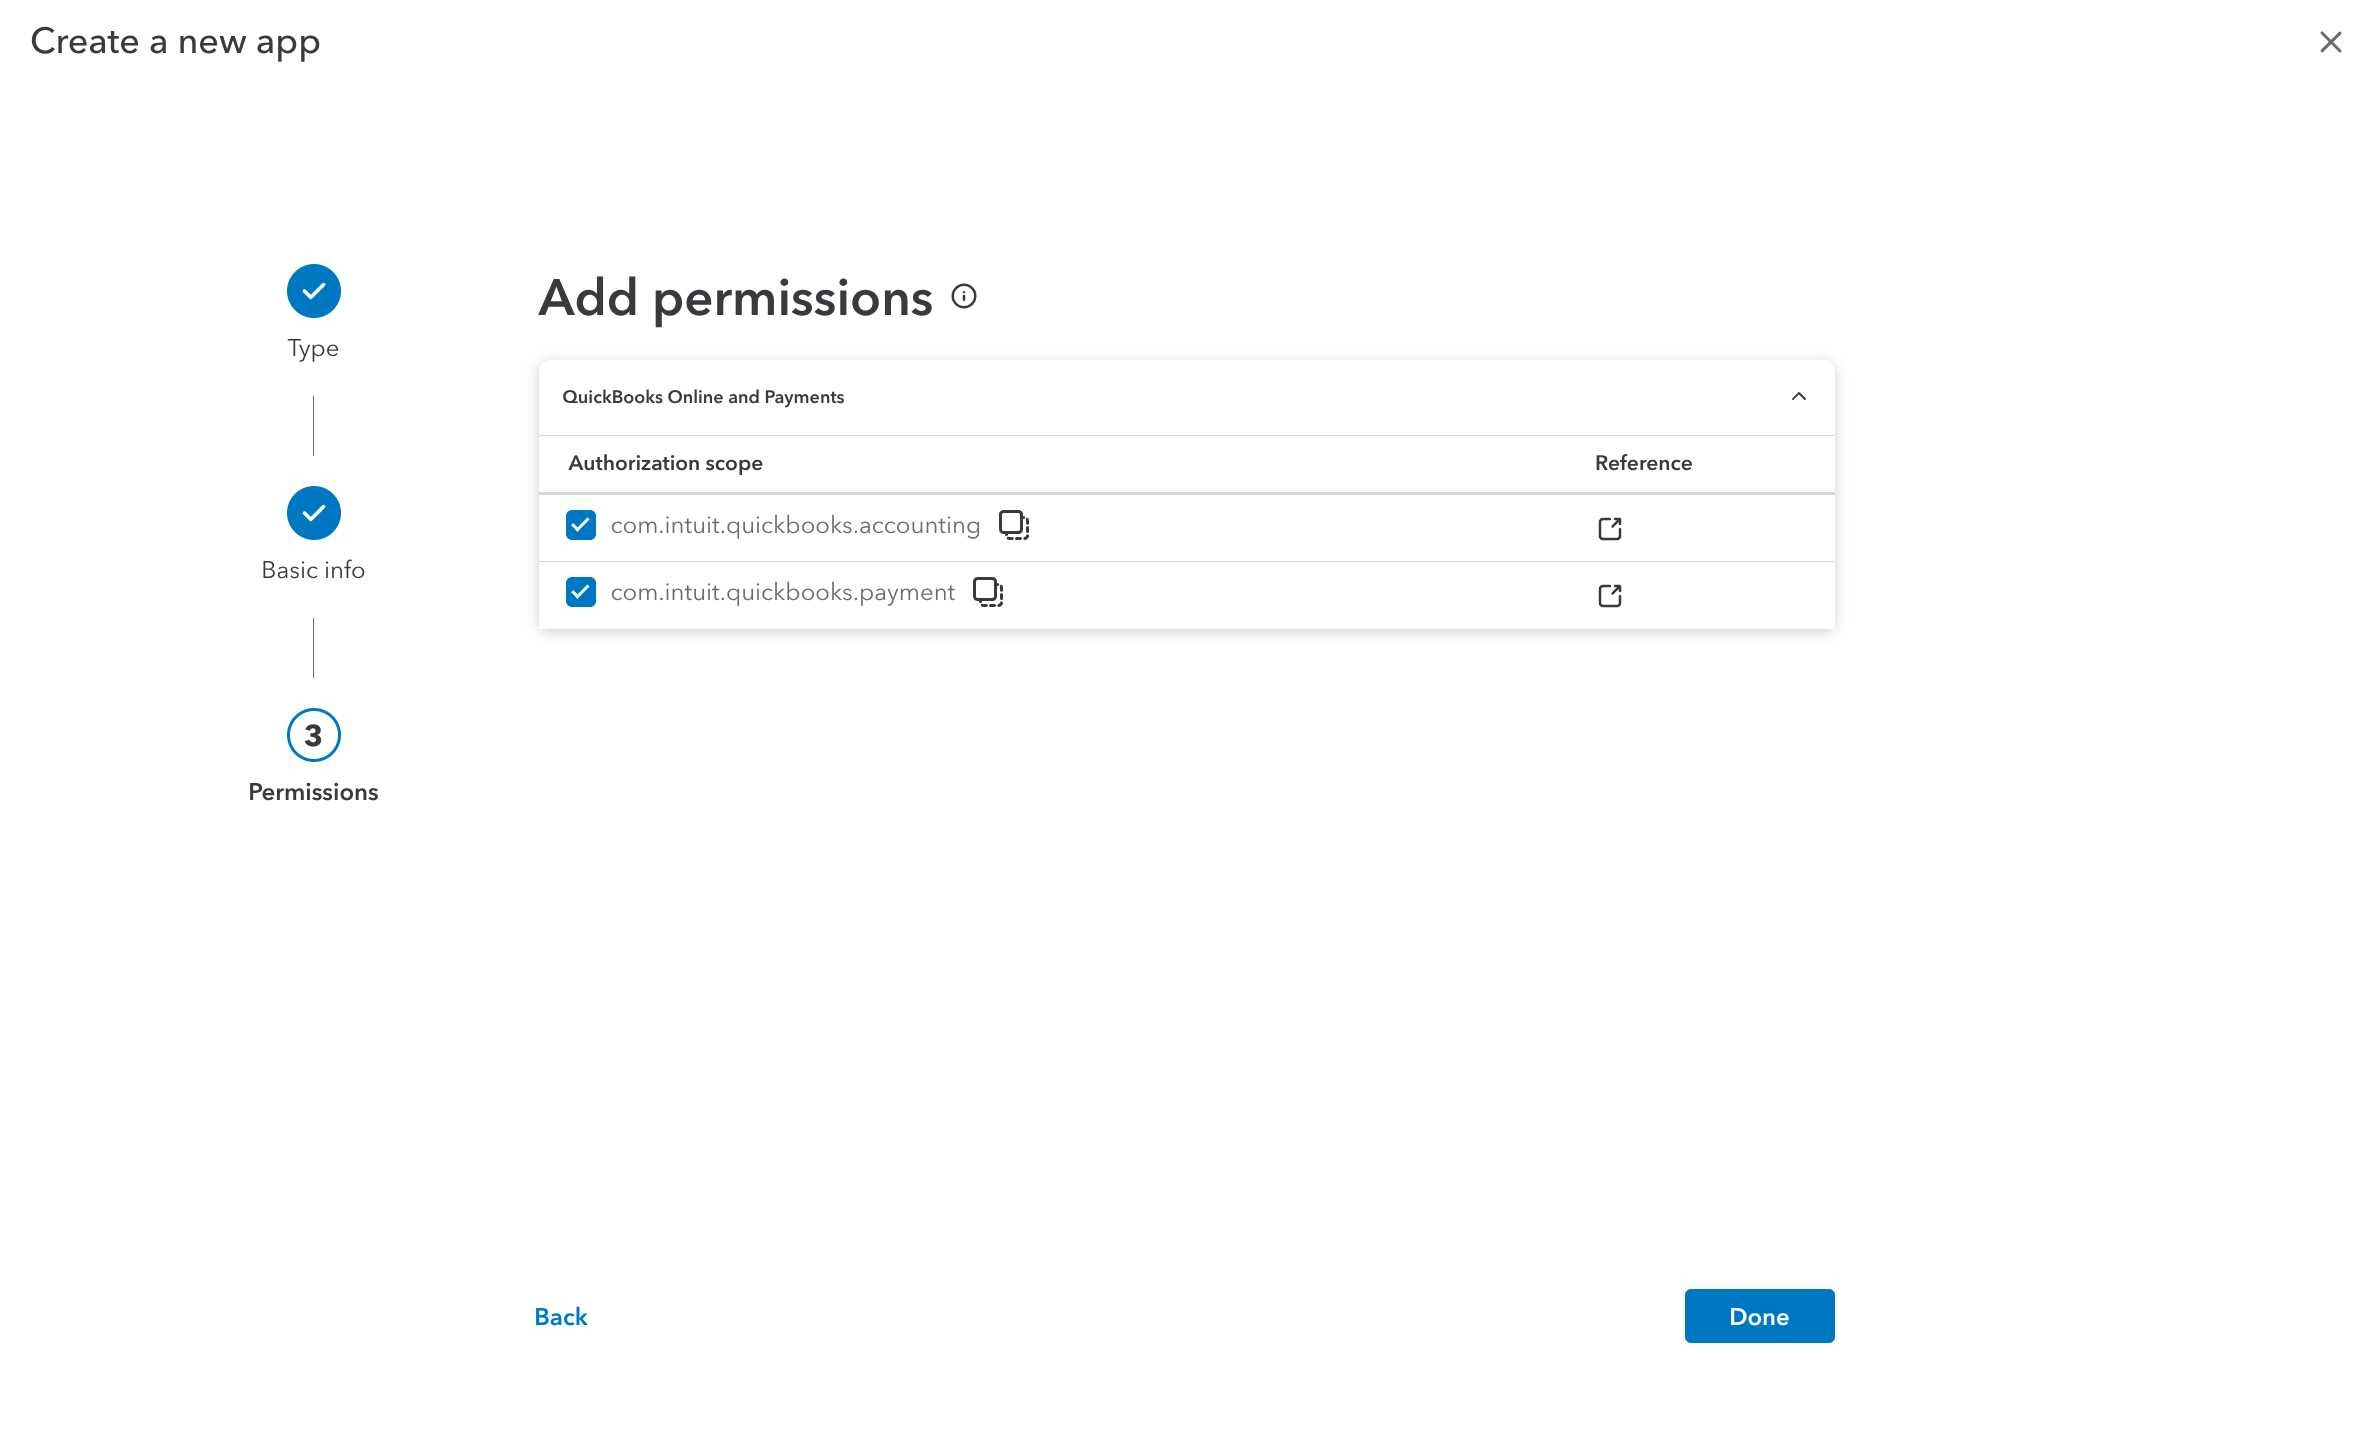
- Review and confirm the permissions by clicking “Confirm”
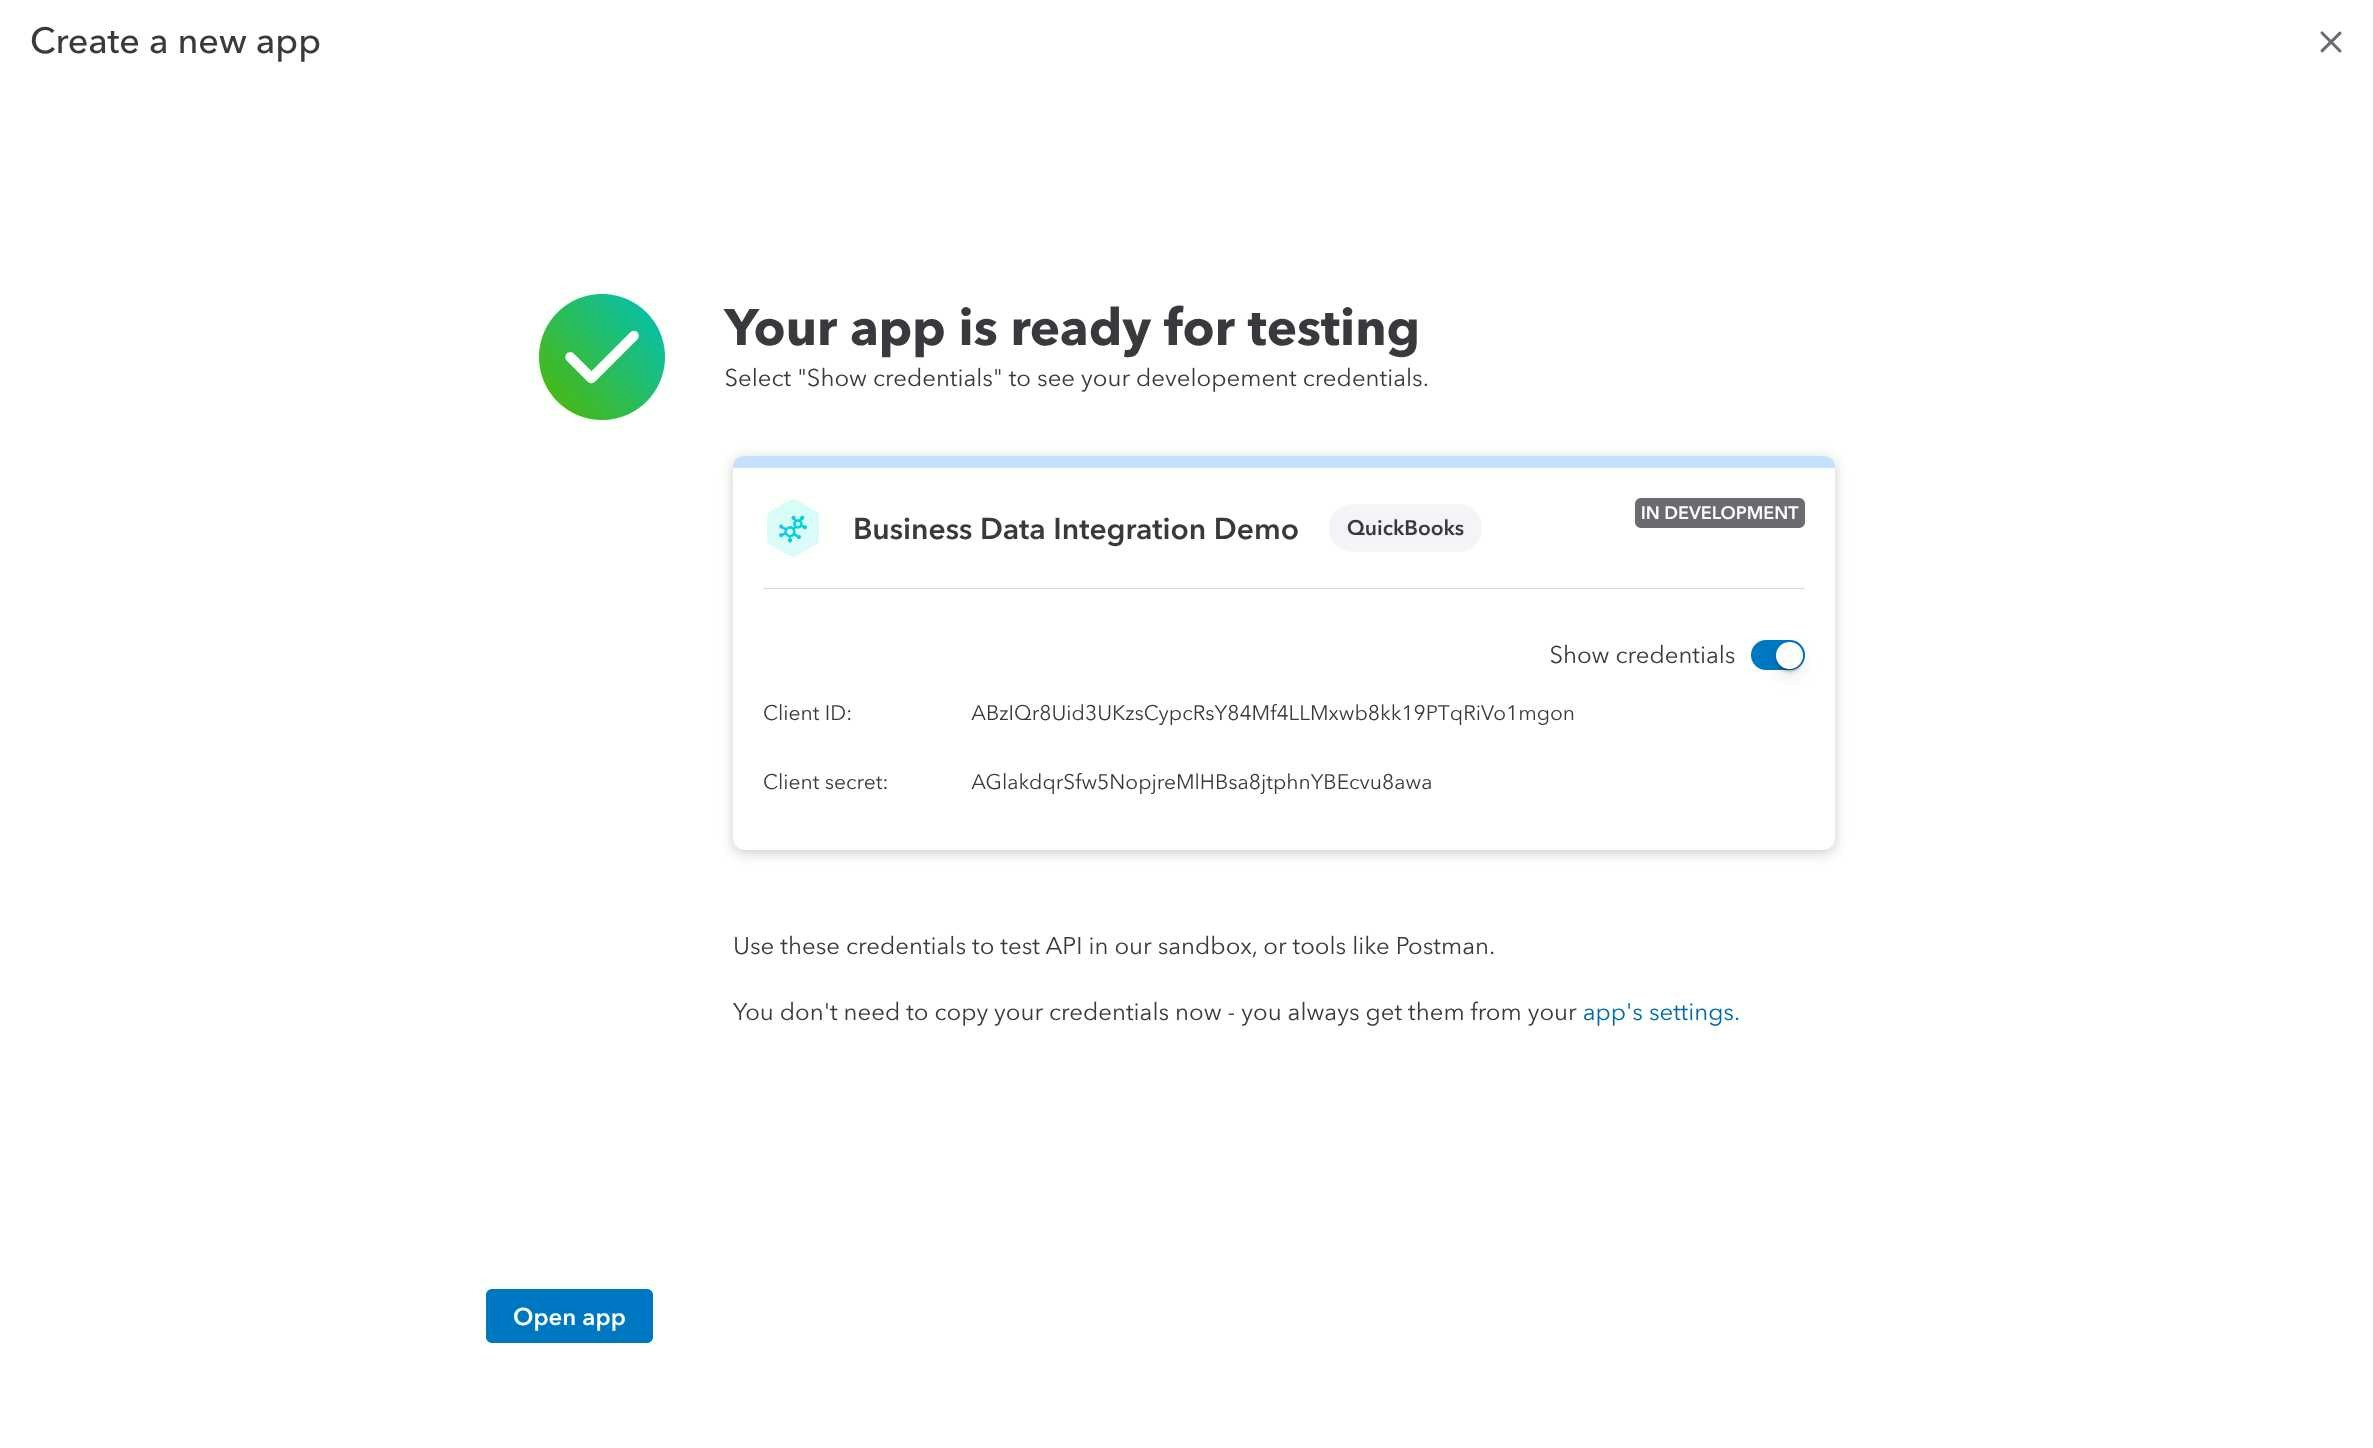
Step 4: Access Your OAuth Credentials
- Once your app is created, you’ll see the success page with your development credentials
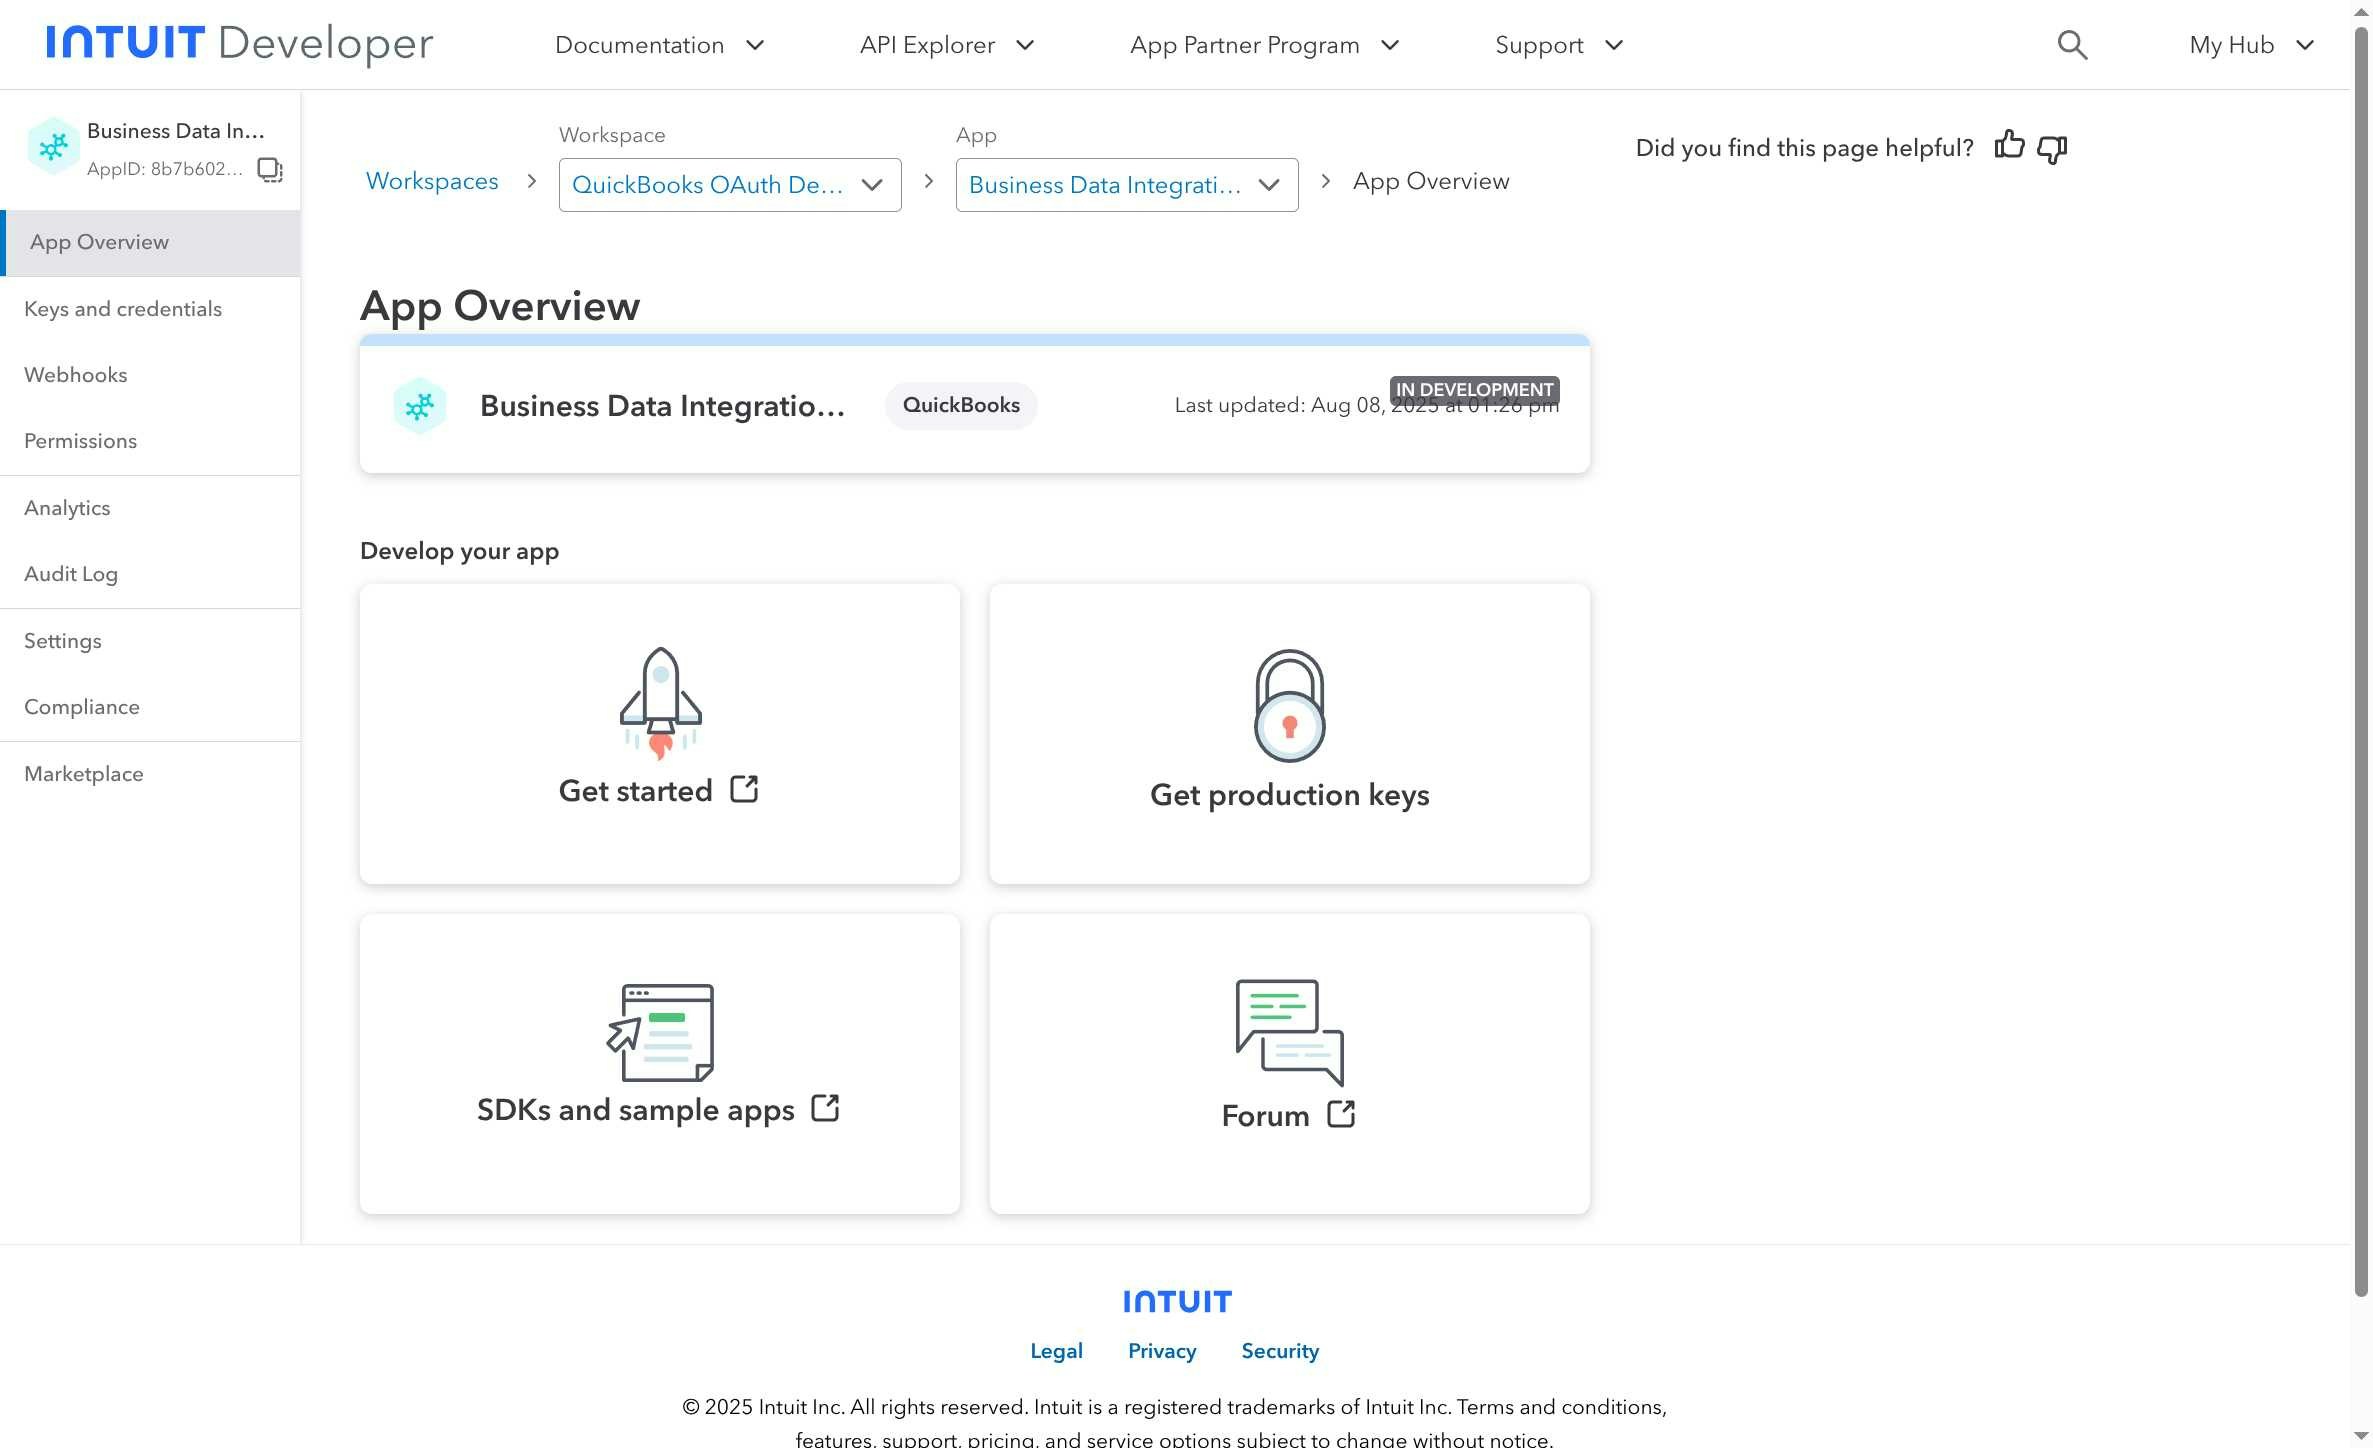
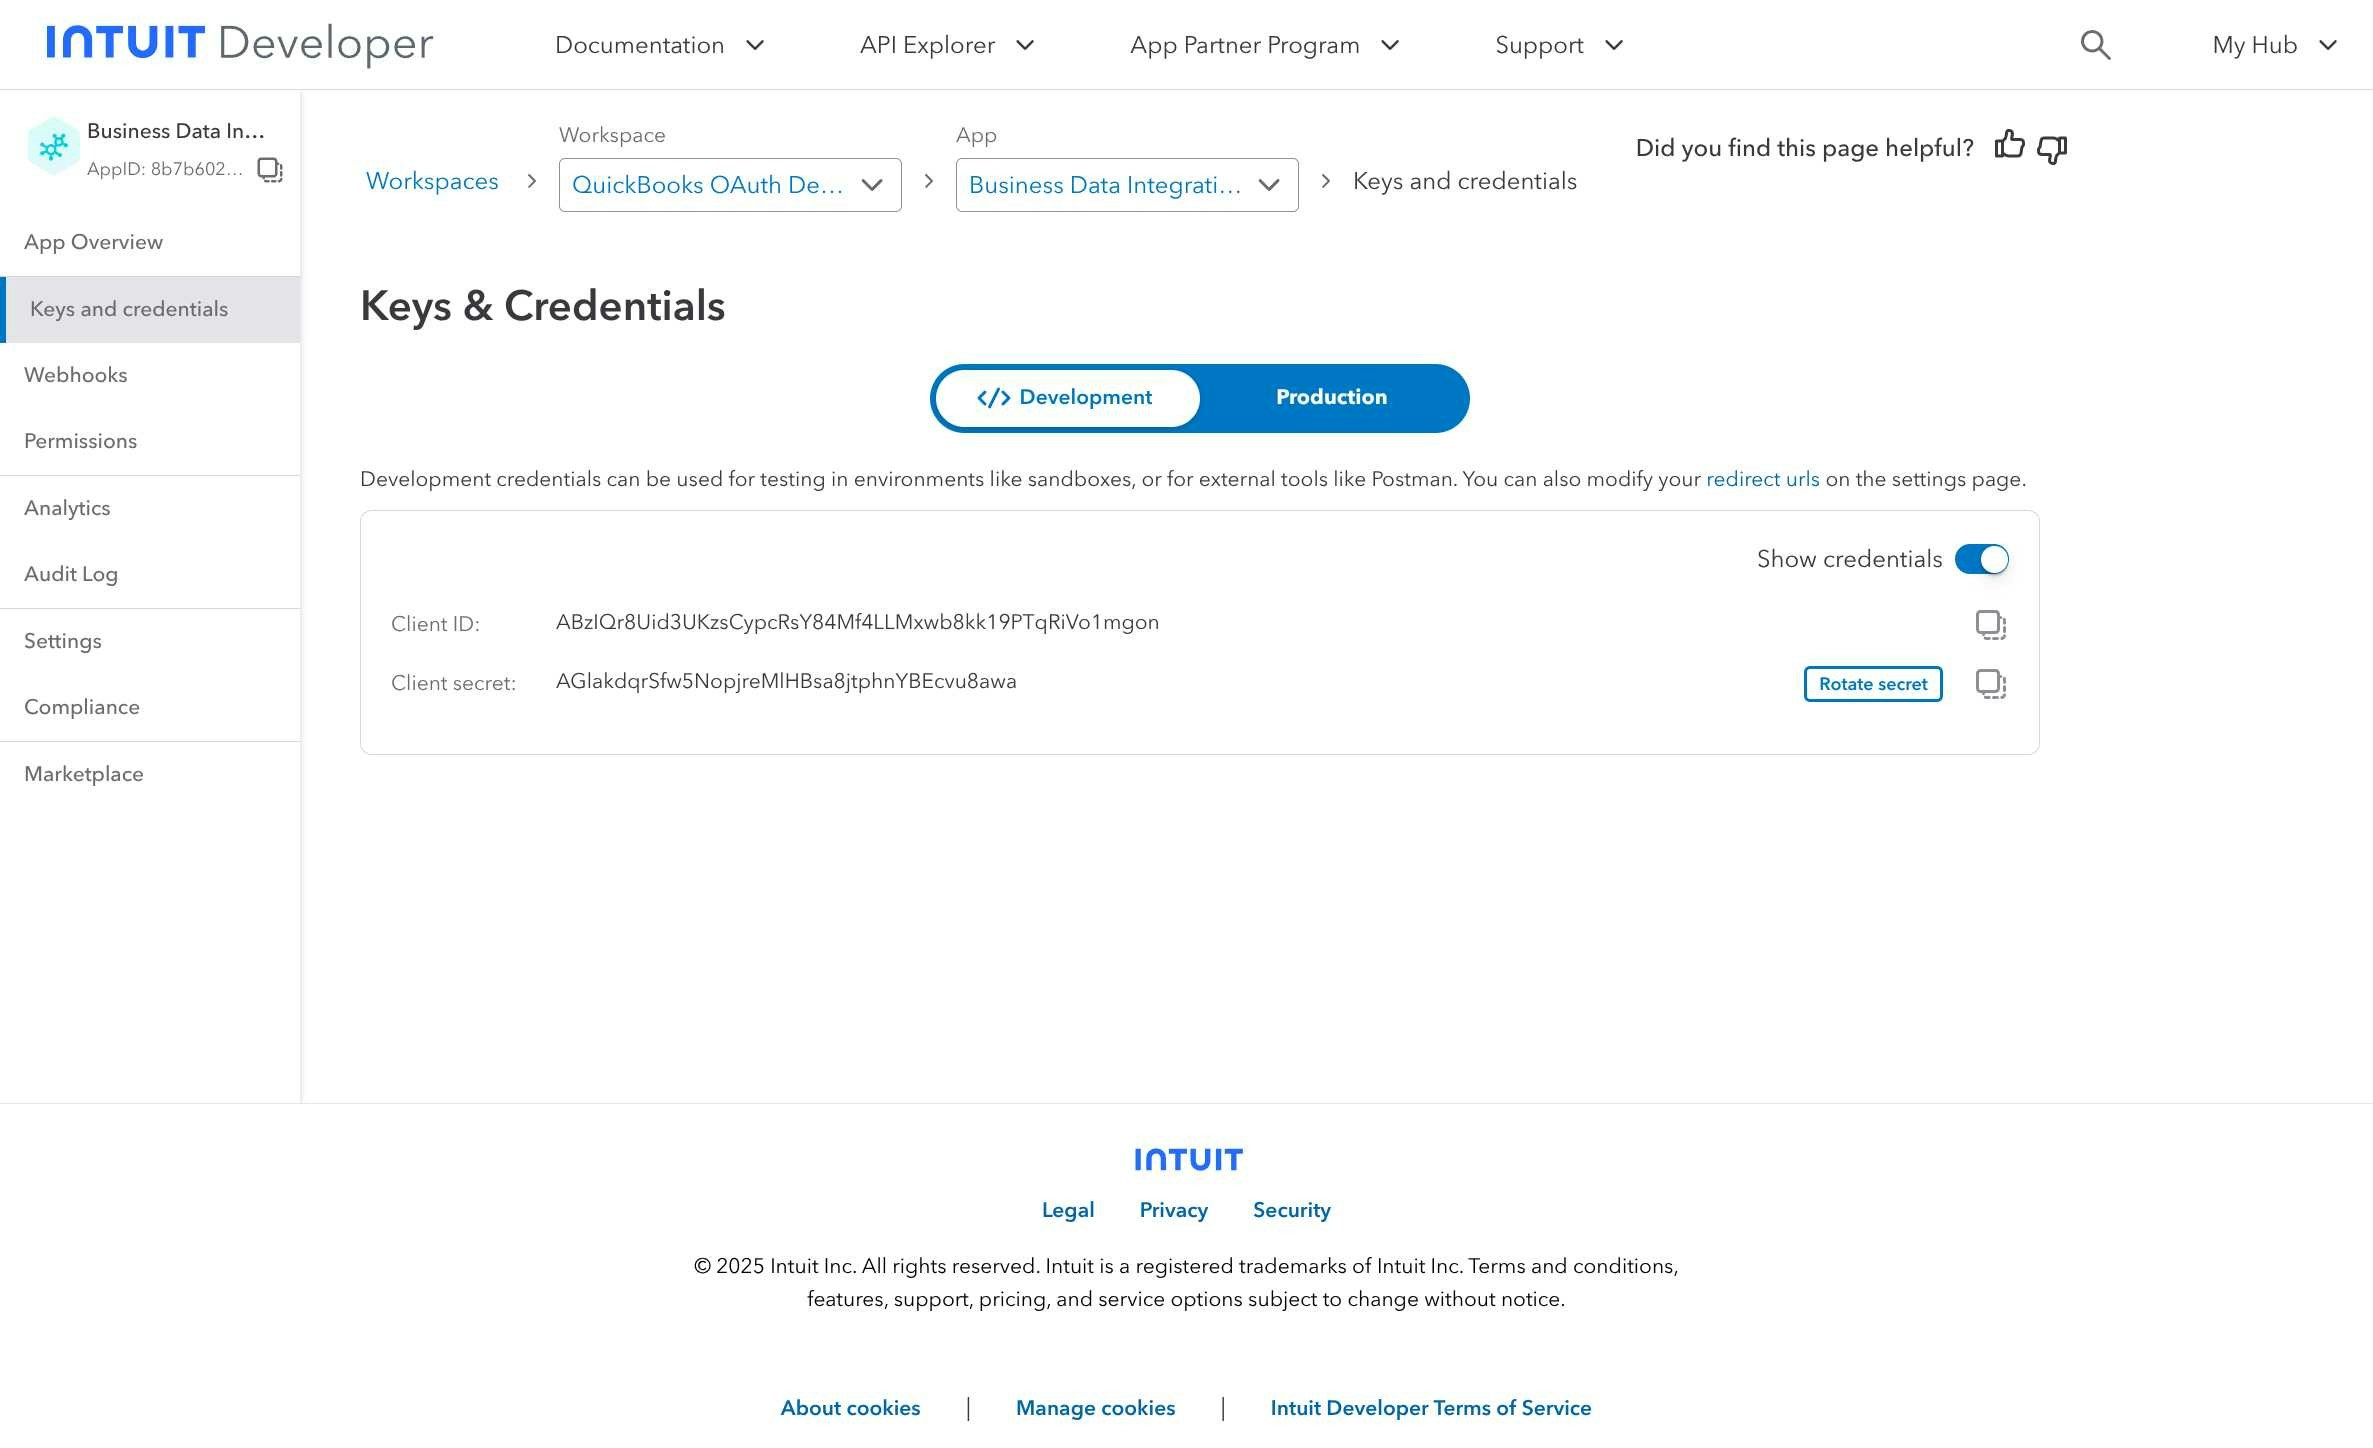
- Navigate to “Keys and credentials” in the left sidebar to view your OAuth credentials:
- Client ID: Your OAuth application identifier
- Client Secret: Your OAuth application secret (keep this secure)
- Configure your redirect URIs:
- For Klavis integration:
https://api.klavis.ai/oauth/quickbooks/callback - For local development:
http://localhost:3000/oauth/quickbooks/callback
- For Klavis integration:
You have successfully created a QuickBooks OAuth application! You now have your Client ID and Client Secret ready for integration with Klavis AI.
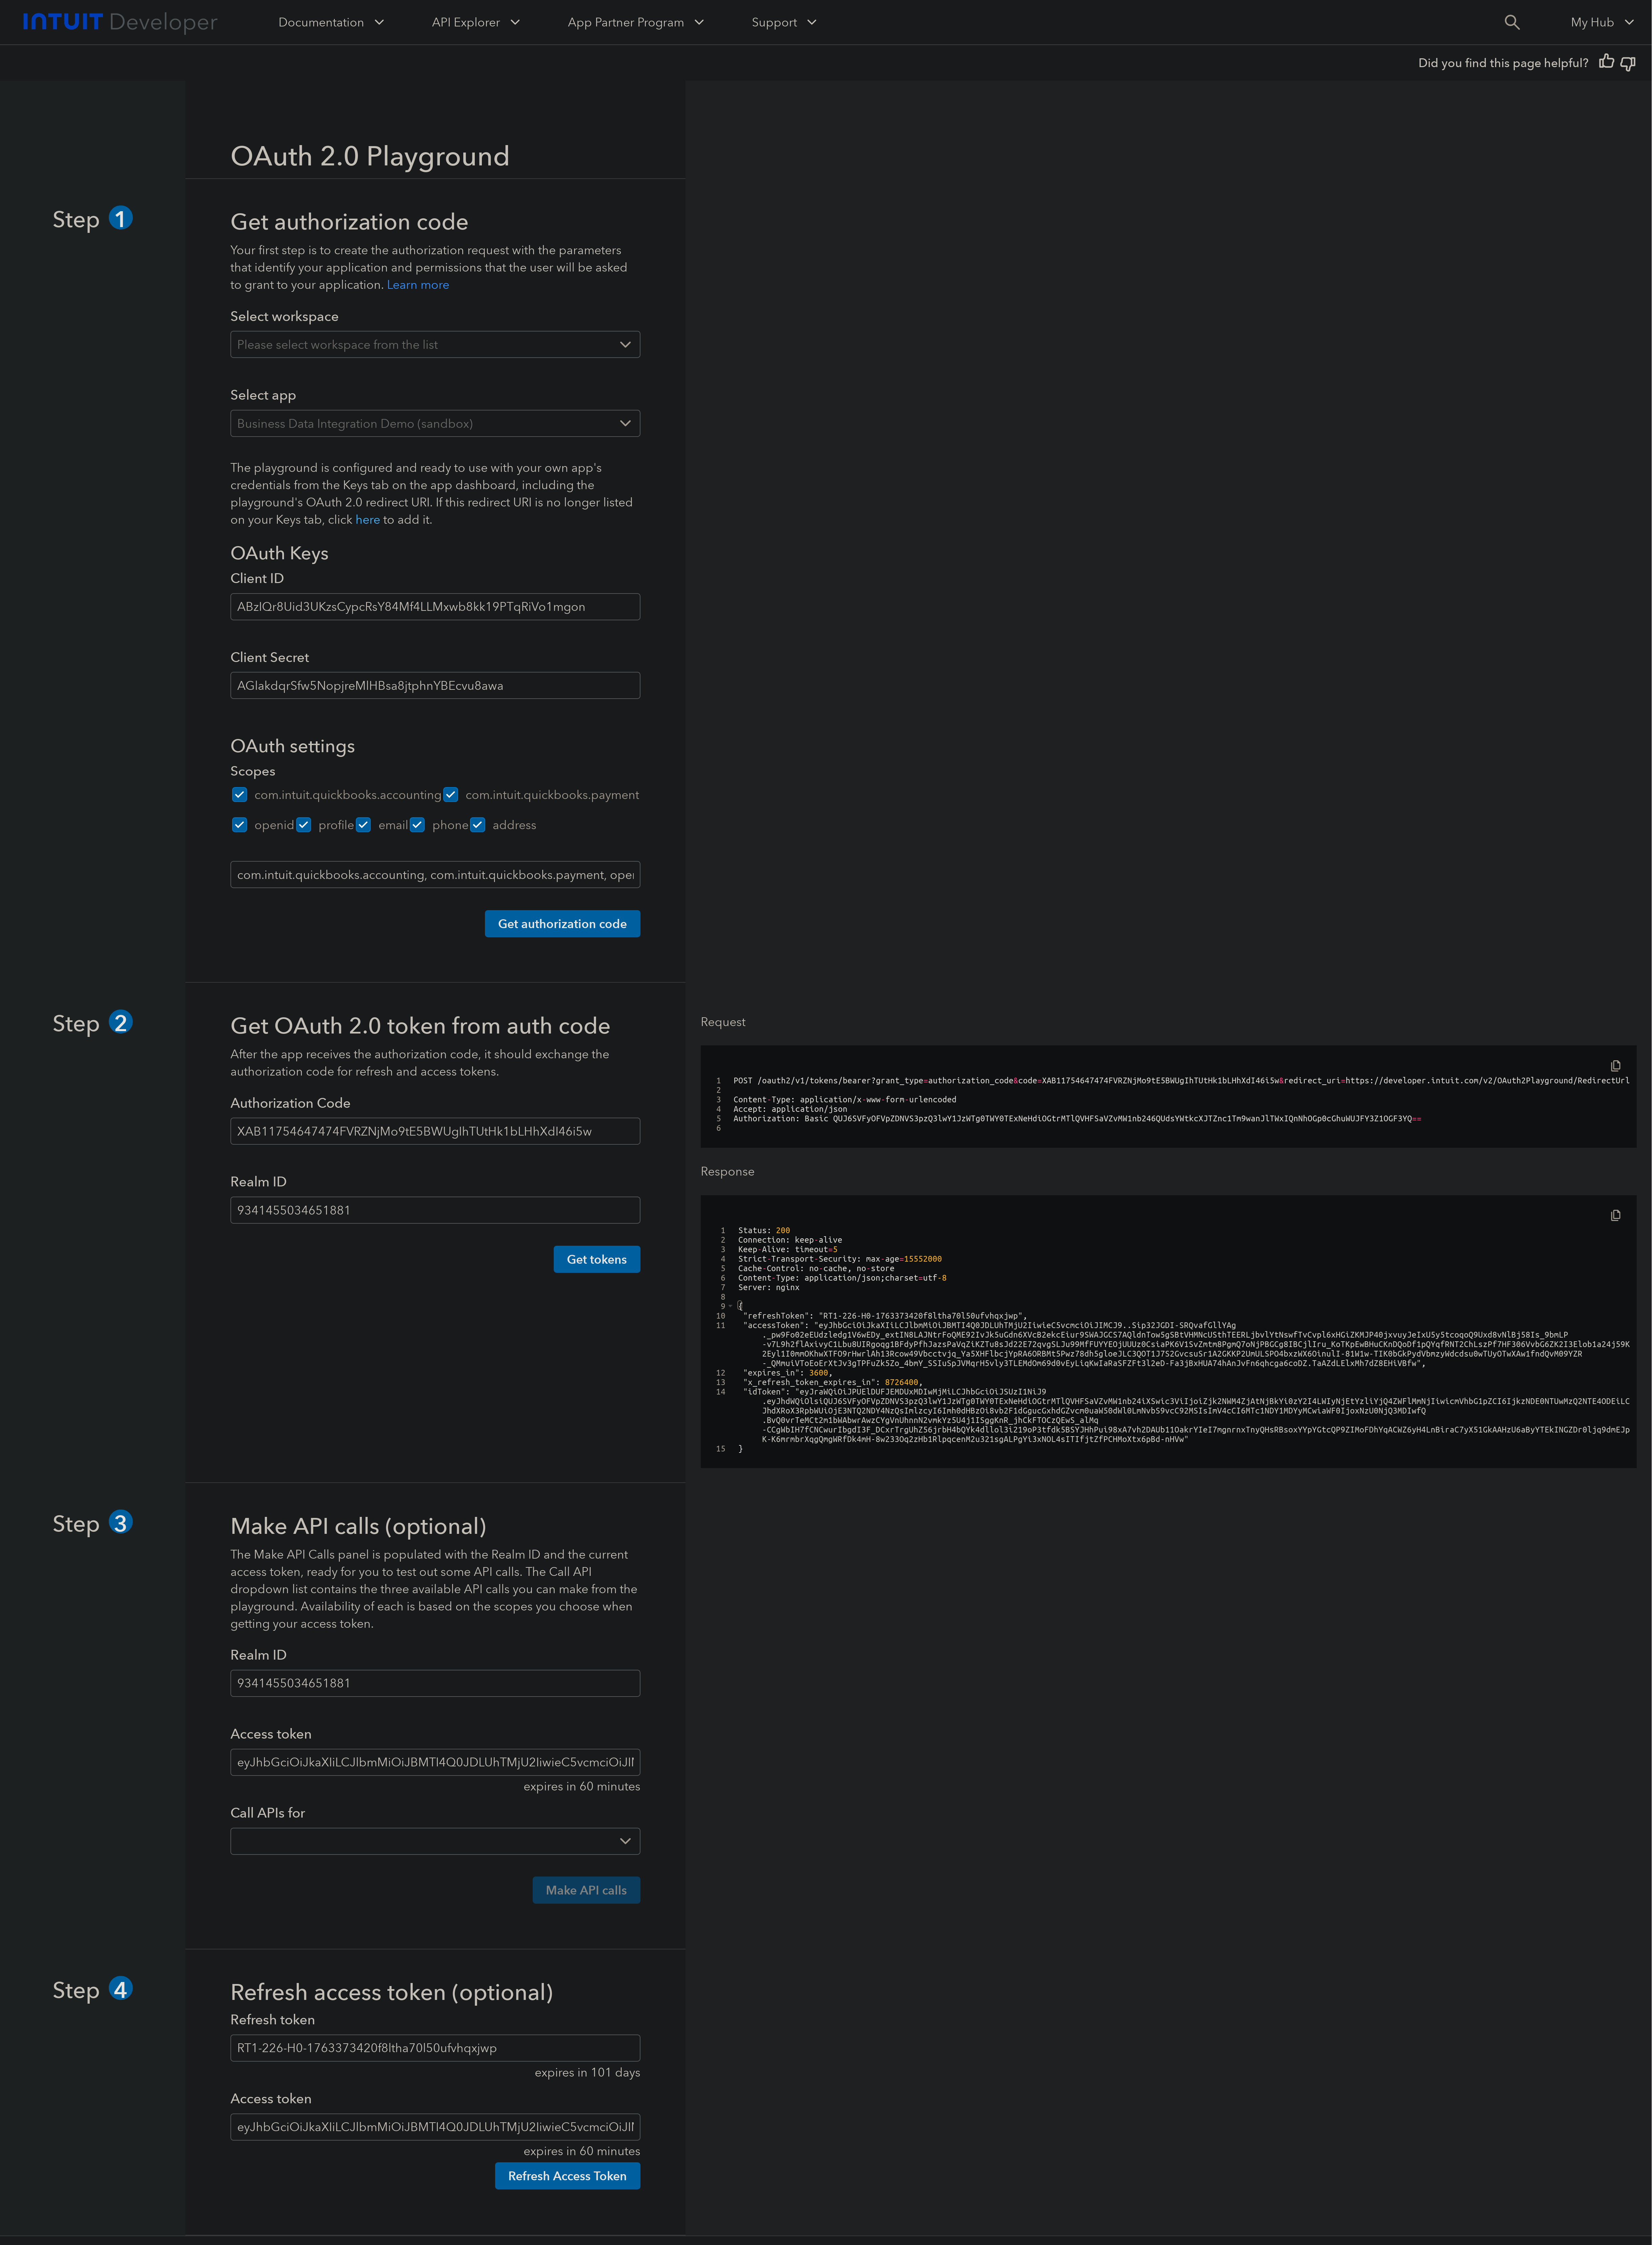
(Local Testing) Step 5: Testing Your Integration
- Open the Intuit API Playground: https://developer.intuit.com/app/developer/playground
- Select your app and environment (Development)
- Click “Get Access Token” to authorize and retrieve the token
- Copy both the Access Token and the Realm ID for testing API calls
(Optional) Step 6: White Labeling
White labeling allows you to customize the OAuth experience with your own branding instead of Klavis AI’s.
- Configure White Labeling: Go to https://www.klavis.ai/home/white-label
- Add Your Credentials: Enter your QuickBooks Client ID and Client Secret from Step 4
-
Set Redirect URI: Use
https://api.klavis.ai/oauth/quickbooks/callbackor your custom callback URL -
Initiate OAuth: Use your client ID when starting the OAuth flow: